Chambers of Xeric
Chambers of Xeric
Chambers of Xeric is one of three raids on Delve located underneath Mount Quidamortem. It has two modes - easy and hardmode - with loot varying between them. This raid can be challenging for new players, so be sure to bring your best items. This guide covers mechanics for both easy and hardmode to prepare you for raids.
Loot Table
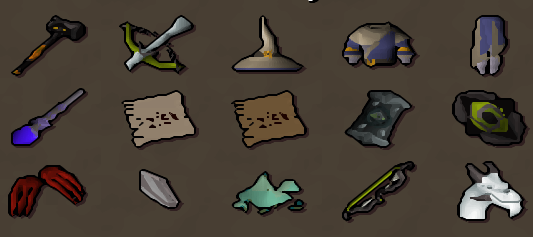
There are differences in loot tables between modes. In easy mode, you cannot obtain the Crystal of Ithell or Metamorphic dust, which are hardmode exclusive items. These items are an achievement for those willing to take on the challenge of hardmode. Running hardmode has better odds of receiving a rare drop from the raid to make it worth your efforts.
Gear Setup
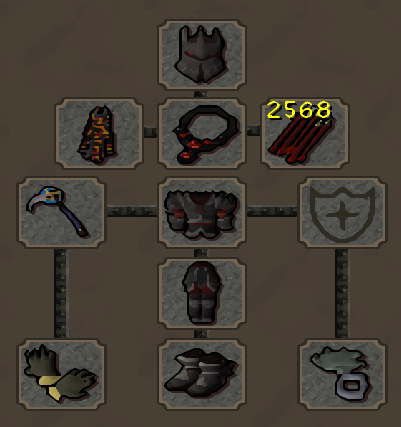
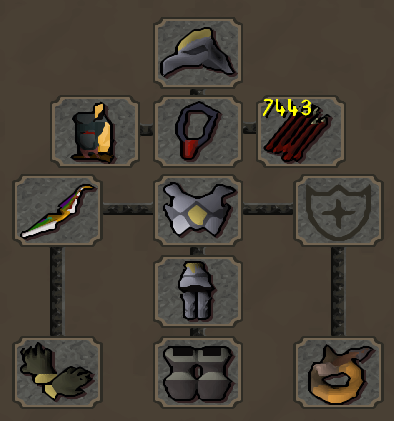
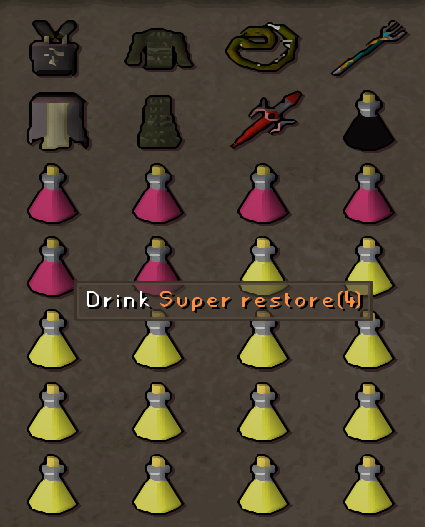
Max Setup (not required to complete raids)
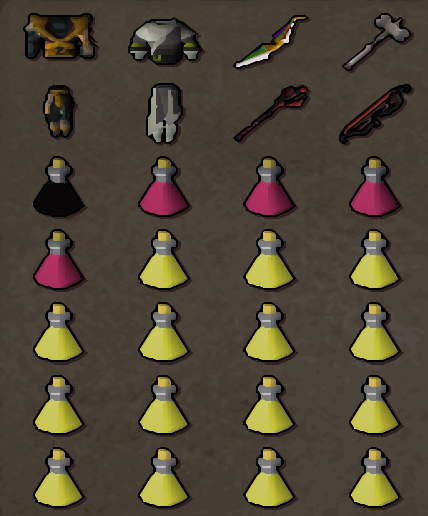
Budget Setup for newer players. Keep in mind with lower tier gear it may take significantly longer to complete the raid if solo. Asking established players for help can increase completion rate. Some sort of anti-poison is recommended with this setup to take less damage.
Getting to COX
There are two different ways to get to COX:
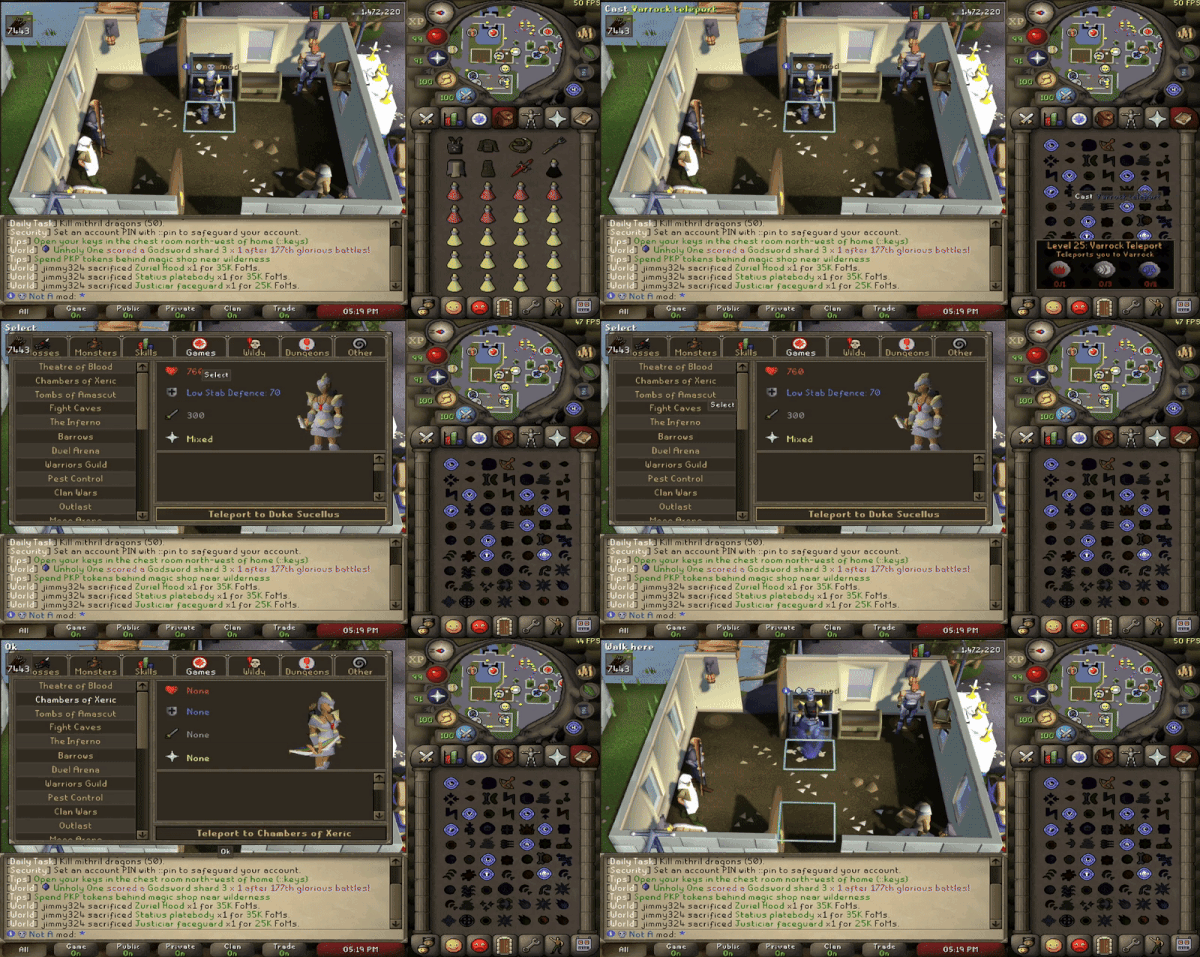
- Use the command ::cox which will teleport you outside of the raid (easiest method)
- Use the teleport shown below:
How to Join a Raid
You need to be in a raid party to enter:
- Solo: Click on the two green faces on the bottom right and click "Create"
- With others: Start a party and right click other players to invite them, or have them invite you and accept the prompt
- You must be at COX to create a party or be invited
Room-by-Room Guide
When ready, enter the Chambers of Xeric. You'll be prompted to choose between easy or hardmode. Hardmode has additional mechanics which are noted below. After clearing each room, you proceed to the next until reaching Olm. If you die, you return to the start of the raid (unless at Olm, then you're sent to the prep area).
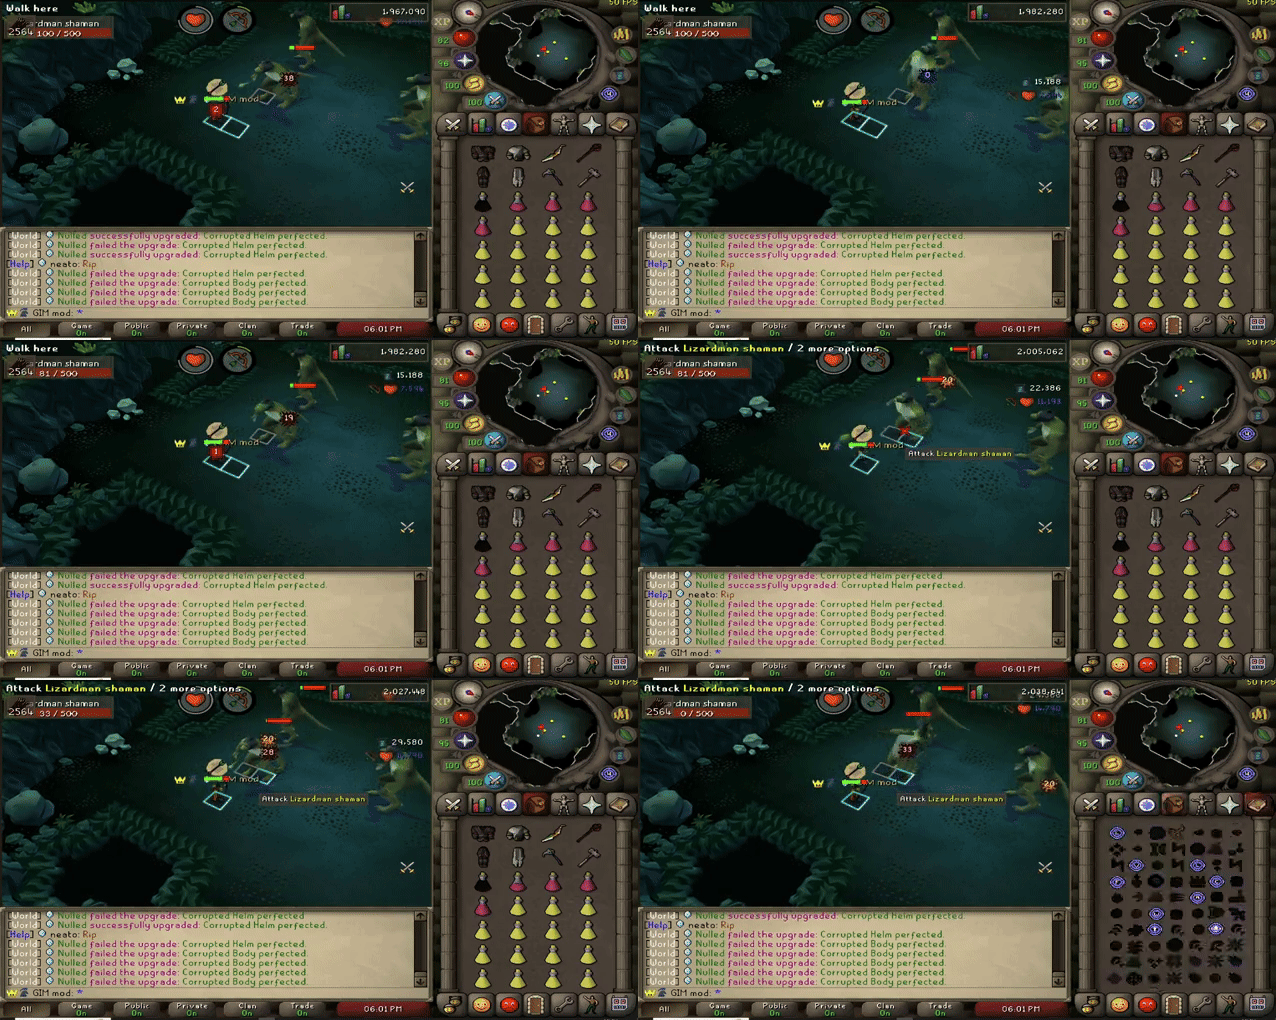
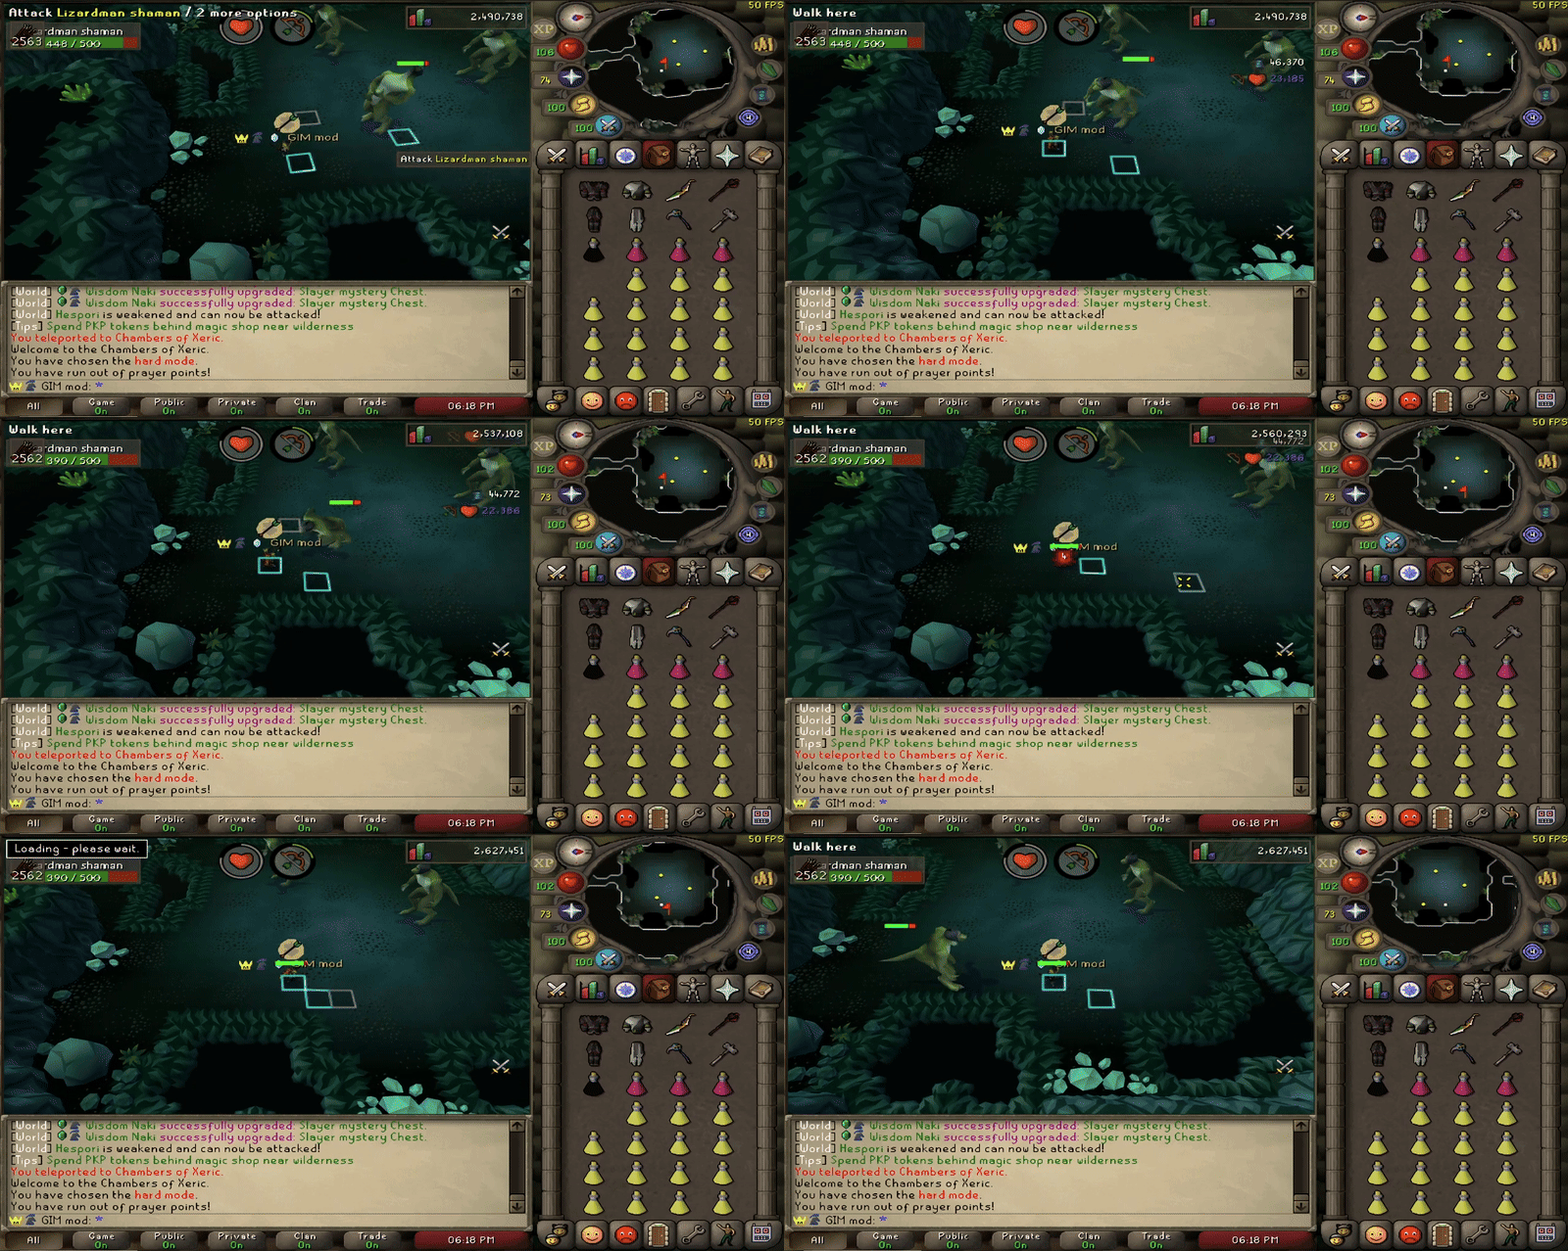
Room 1: Lizardman Shamans
- Kill 3 Lizardman shamans
- Best attack style: Range
- Enable Protect from Ranged prayer
- Watch for and avoid poison attacks:
Hardmode Mechanic: Shamans will jump into the air and land where you're standing. Move to a different section of the room when you see them leap:
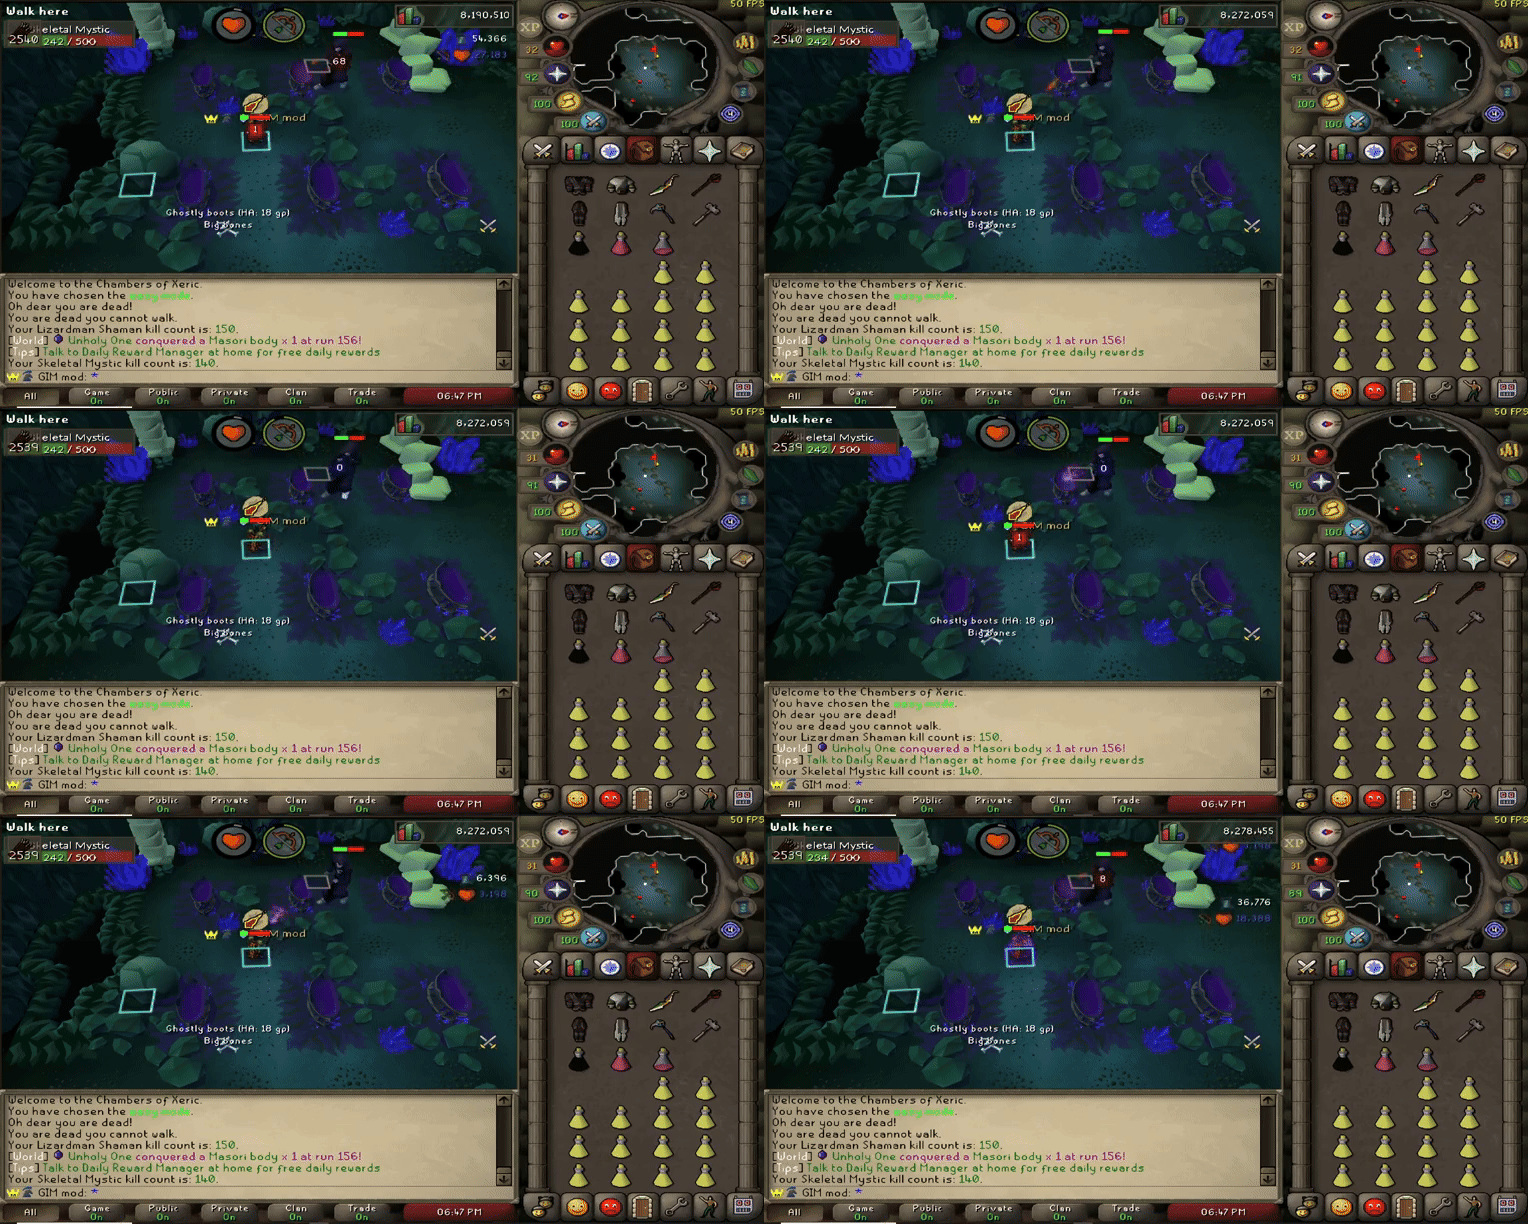
Room 2: Skeletal Mystics
- Kill 3 Skeletal Mystics
- Best attack style: Range
- Use Protect from Magic
- Watch for purple projectiles (curse spell) that reduce your defence:
- No special hardmode mechanics, but they deal more damage
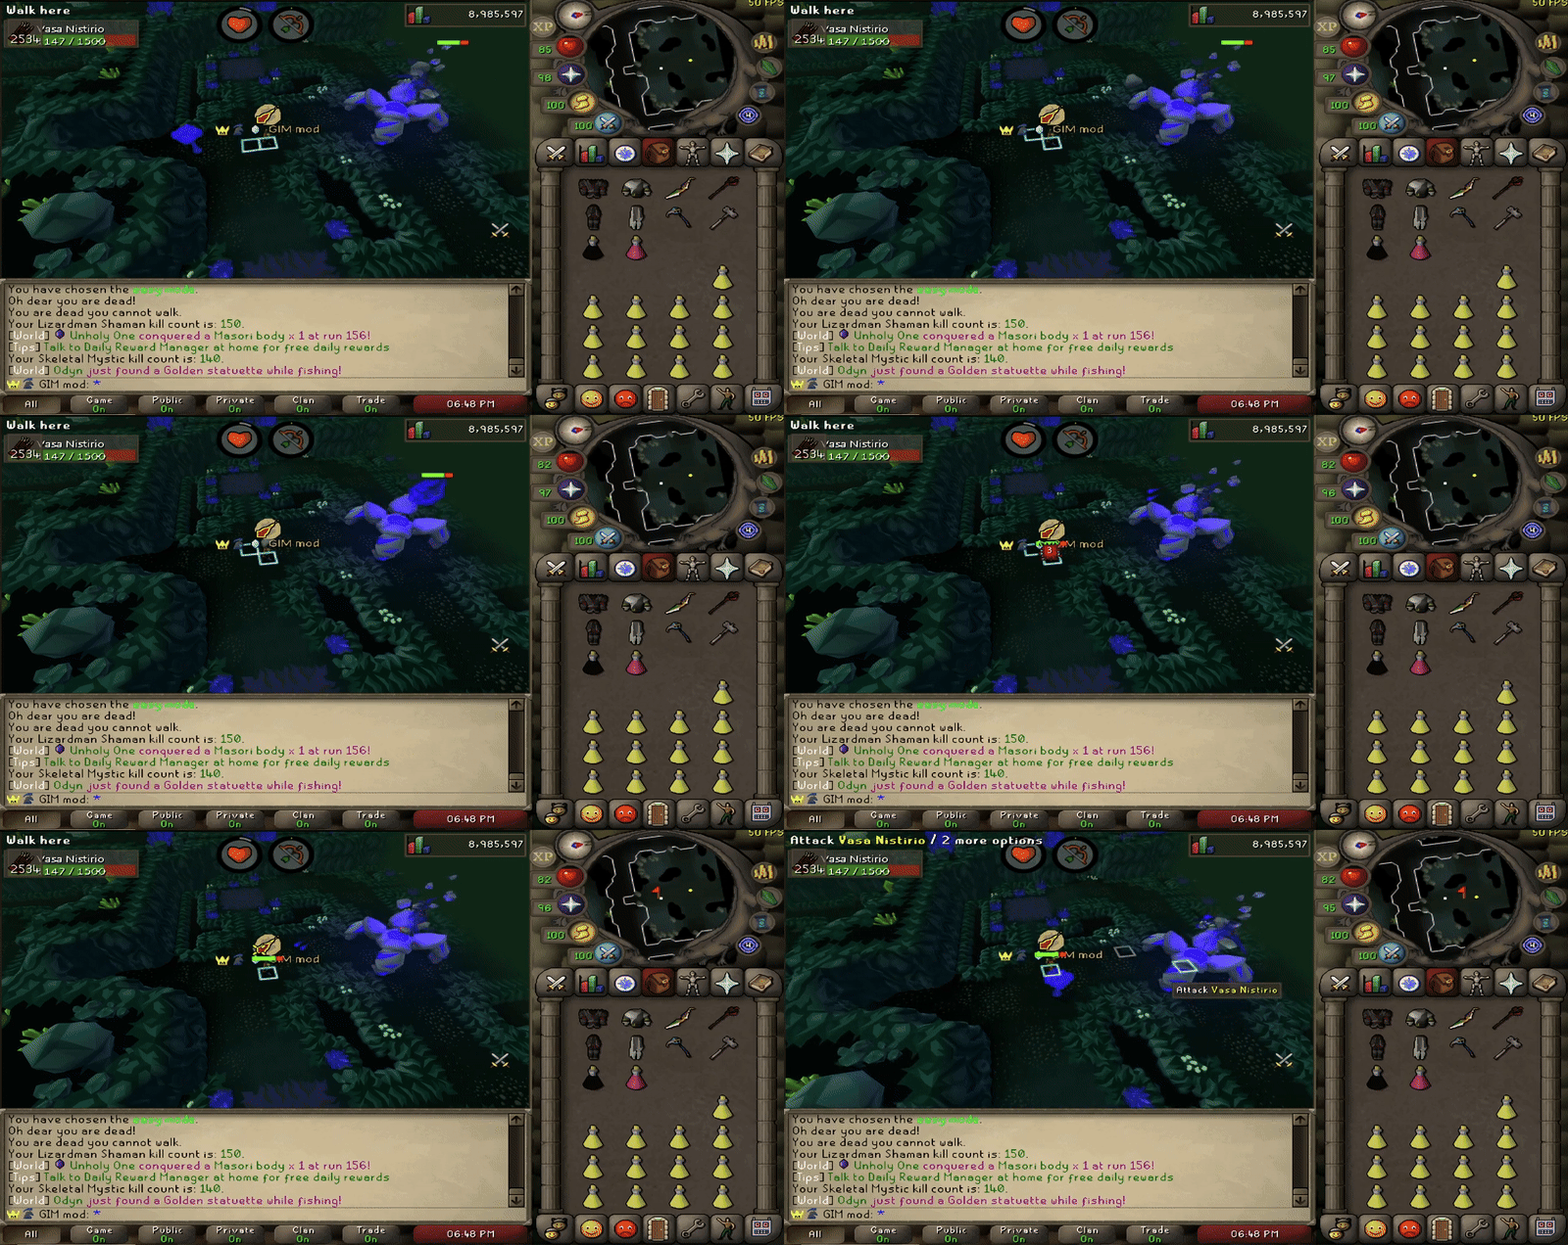
Room 3: Vasa Nistirio
- Use Protect from Magic
- Best attack style: Range
- Primary attack: Boulders
- Secondary attack: Blue spinning balls that create a smoke cloud - dodge by moving at least one tile:
- No special hardmode mechanics, but more damage
Room 4: Vanguards
Three different vanguards, each requiring a different attack style:
Melee Vanguard:
- Protection: Range
- Attack with: Melee
Magic Vanguard:
- Protection: Melee
- Attack with: Magic
Ranged Vanguard:
- Protection: Magic
- Attack with: Range
- No special hardmode mechanics, but more damage
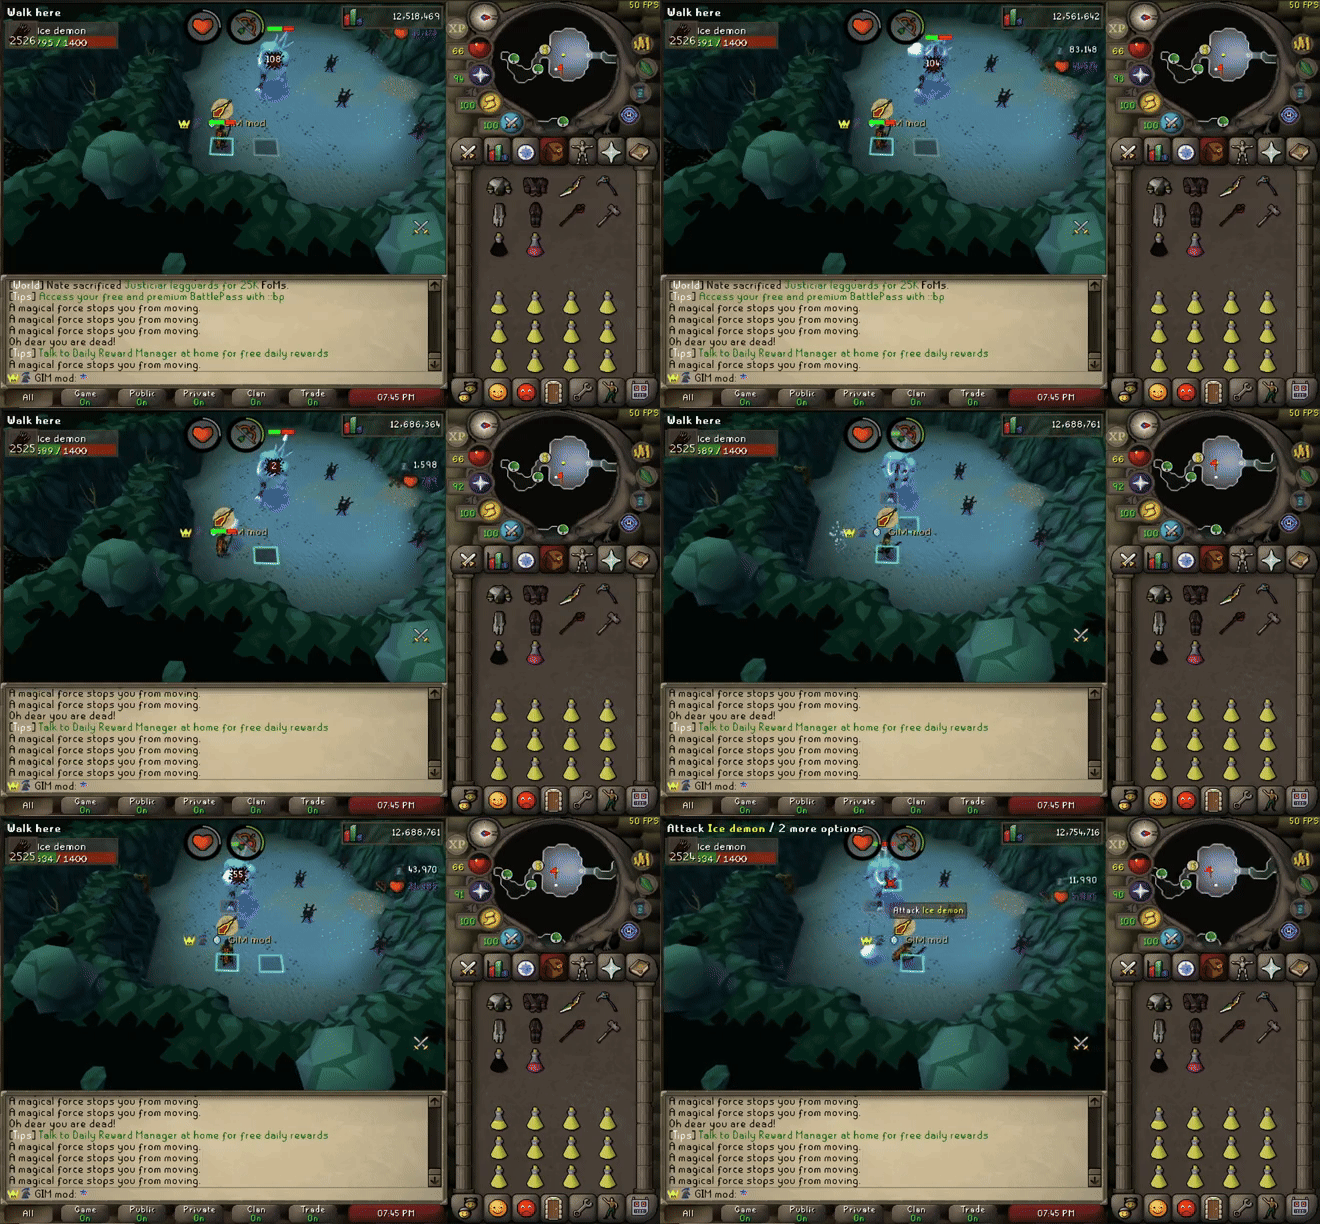
Room 5: Ice Demon
- Best attack style: Range
- Use Protect from Magic (helps when frozen)
- Dodge snow boulders by stepping two tiles away
- Secondary attack: Freezes you in place, forcing you to tank snow boulders
- No hardmode mechanics besides increased damage
Room 6: Treasure Room
- No enemies, just chests
- Proceed to the next passage to continue
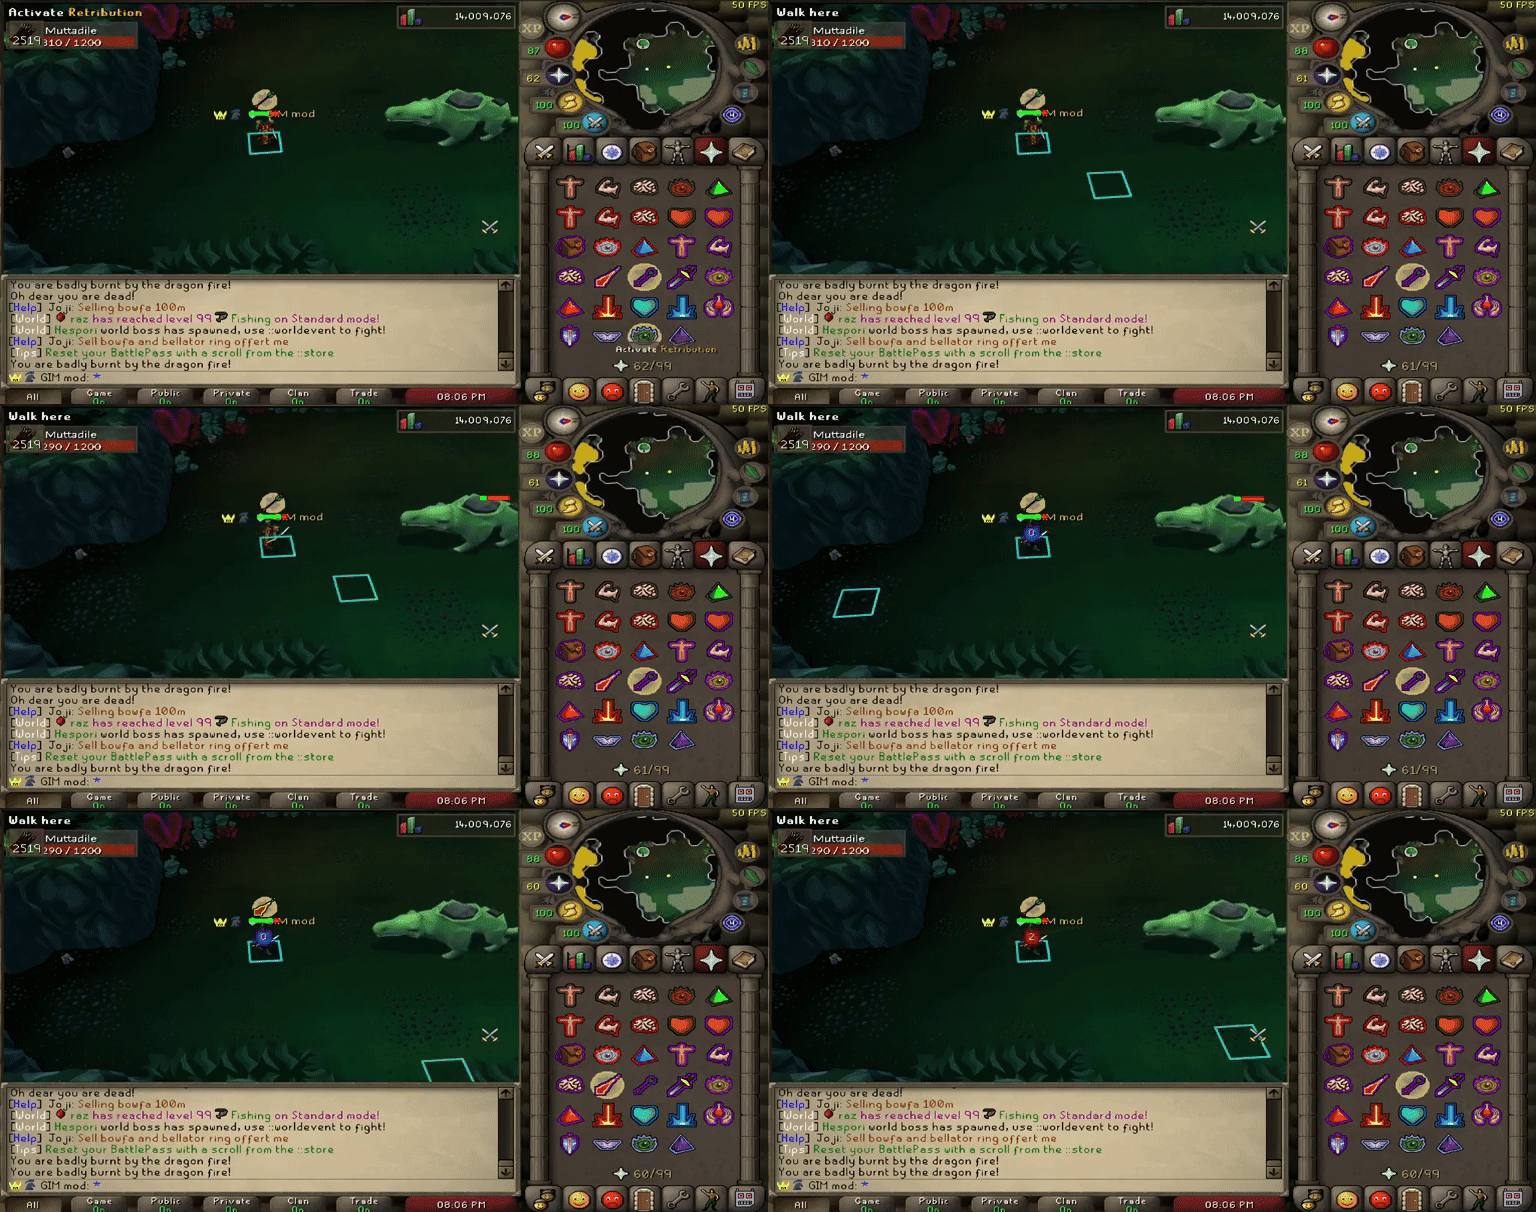
Room 7: Muttadile
- Best attack style: Range or Melee
- Use Protect from Range primarily
- When you see a fireball, switch to Protect from Magic
- Anti-fire potions allow you to stay on Protect from Range
- No hardmode mechanics besides increased damage
Room 8: Tekton
- Can only be killed with Melee
- Use Protect from Melee when fighting
- Dragon Warhammer or Statius Warhammer specs recommended
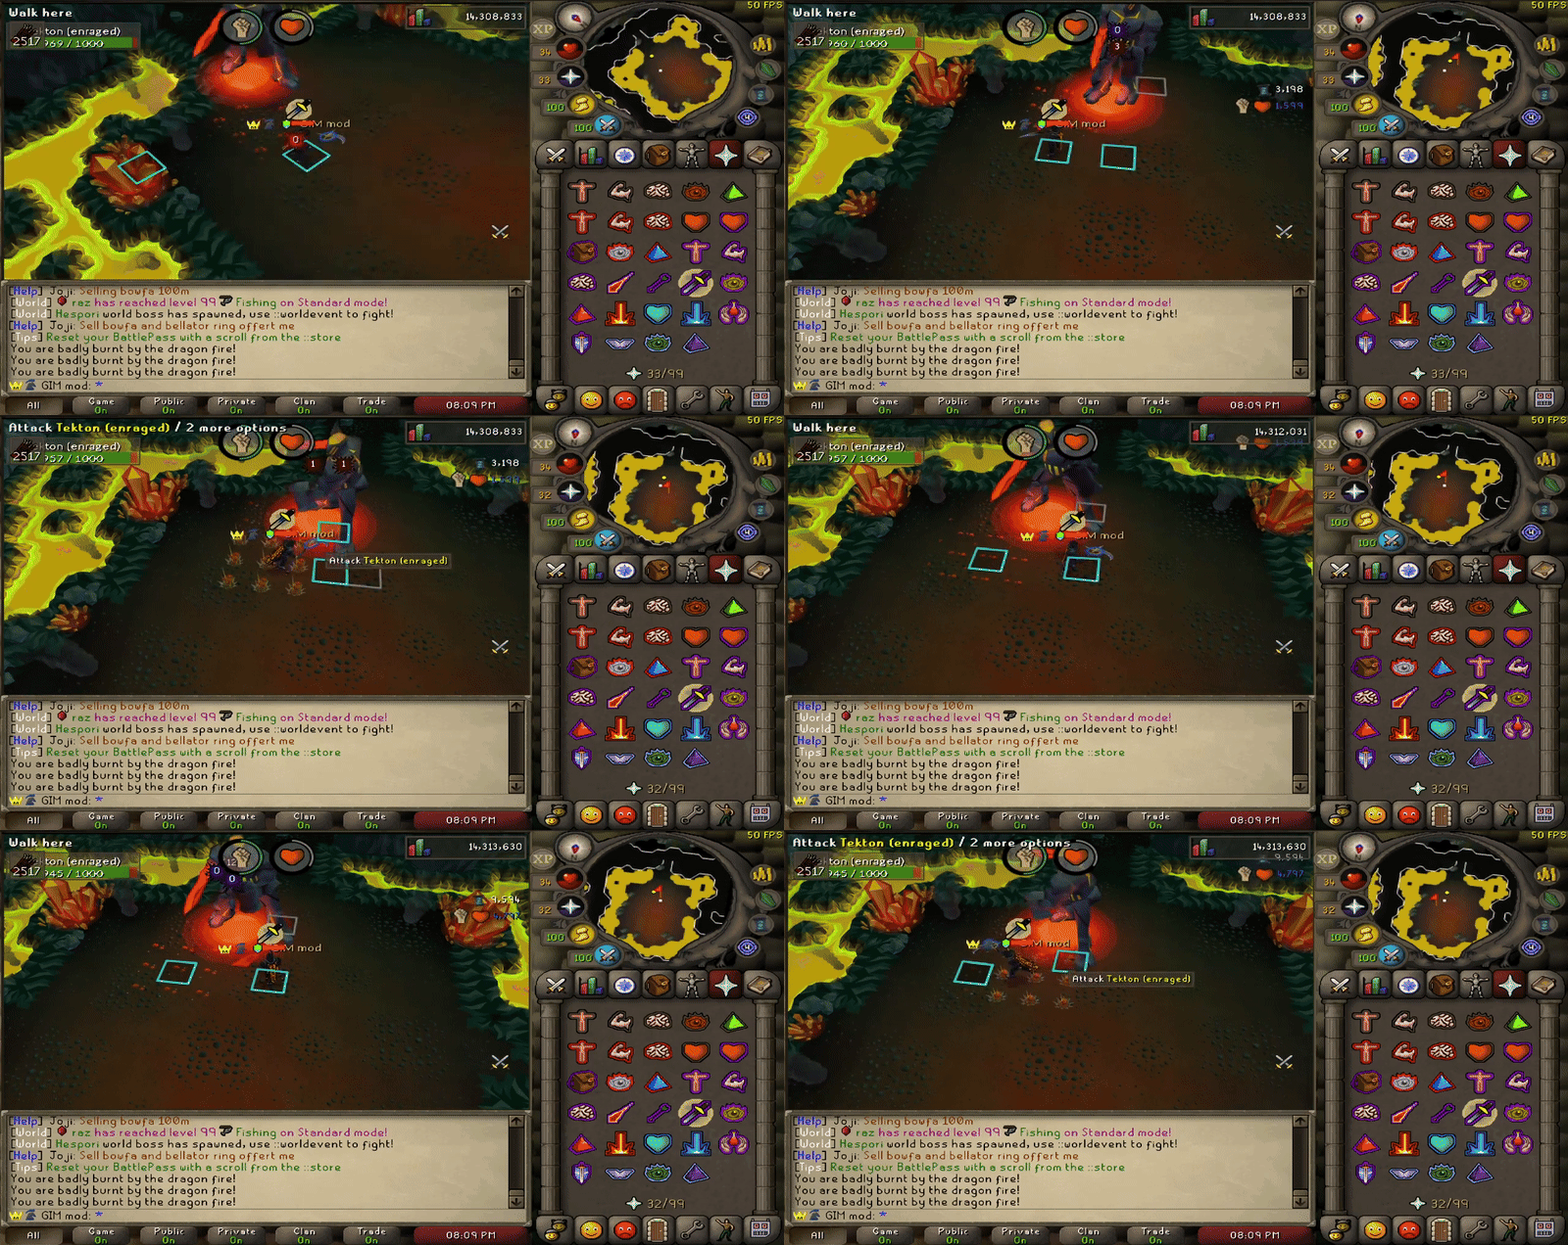
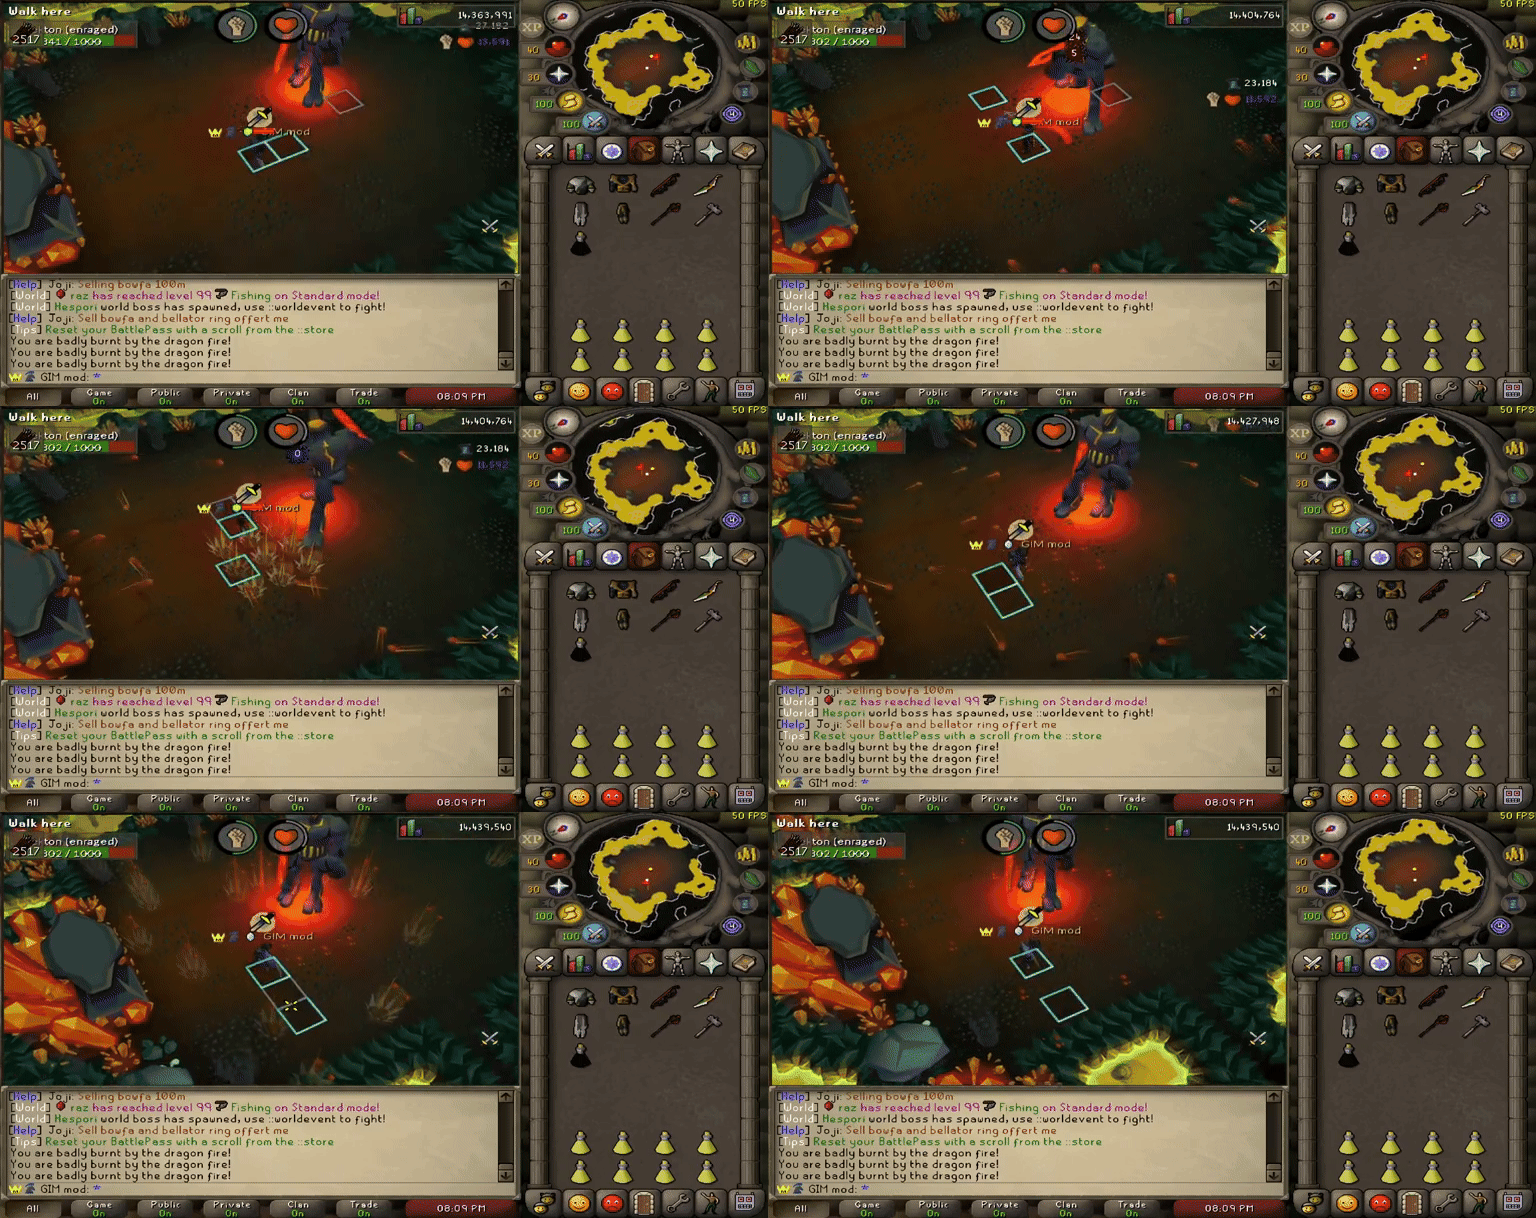
- Avoid 3x3 AOE typeless damage by running away:
- Avoid falling projectiles by moving to safe tiles:
Room 9: Preparation Room
- Final prep area before Olm
- Enter the hole to begin the final fight
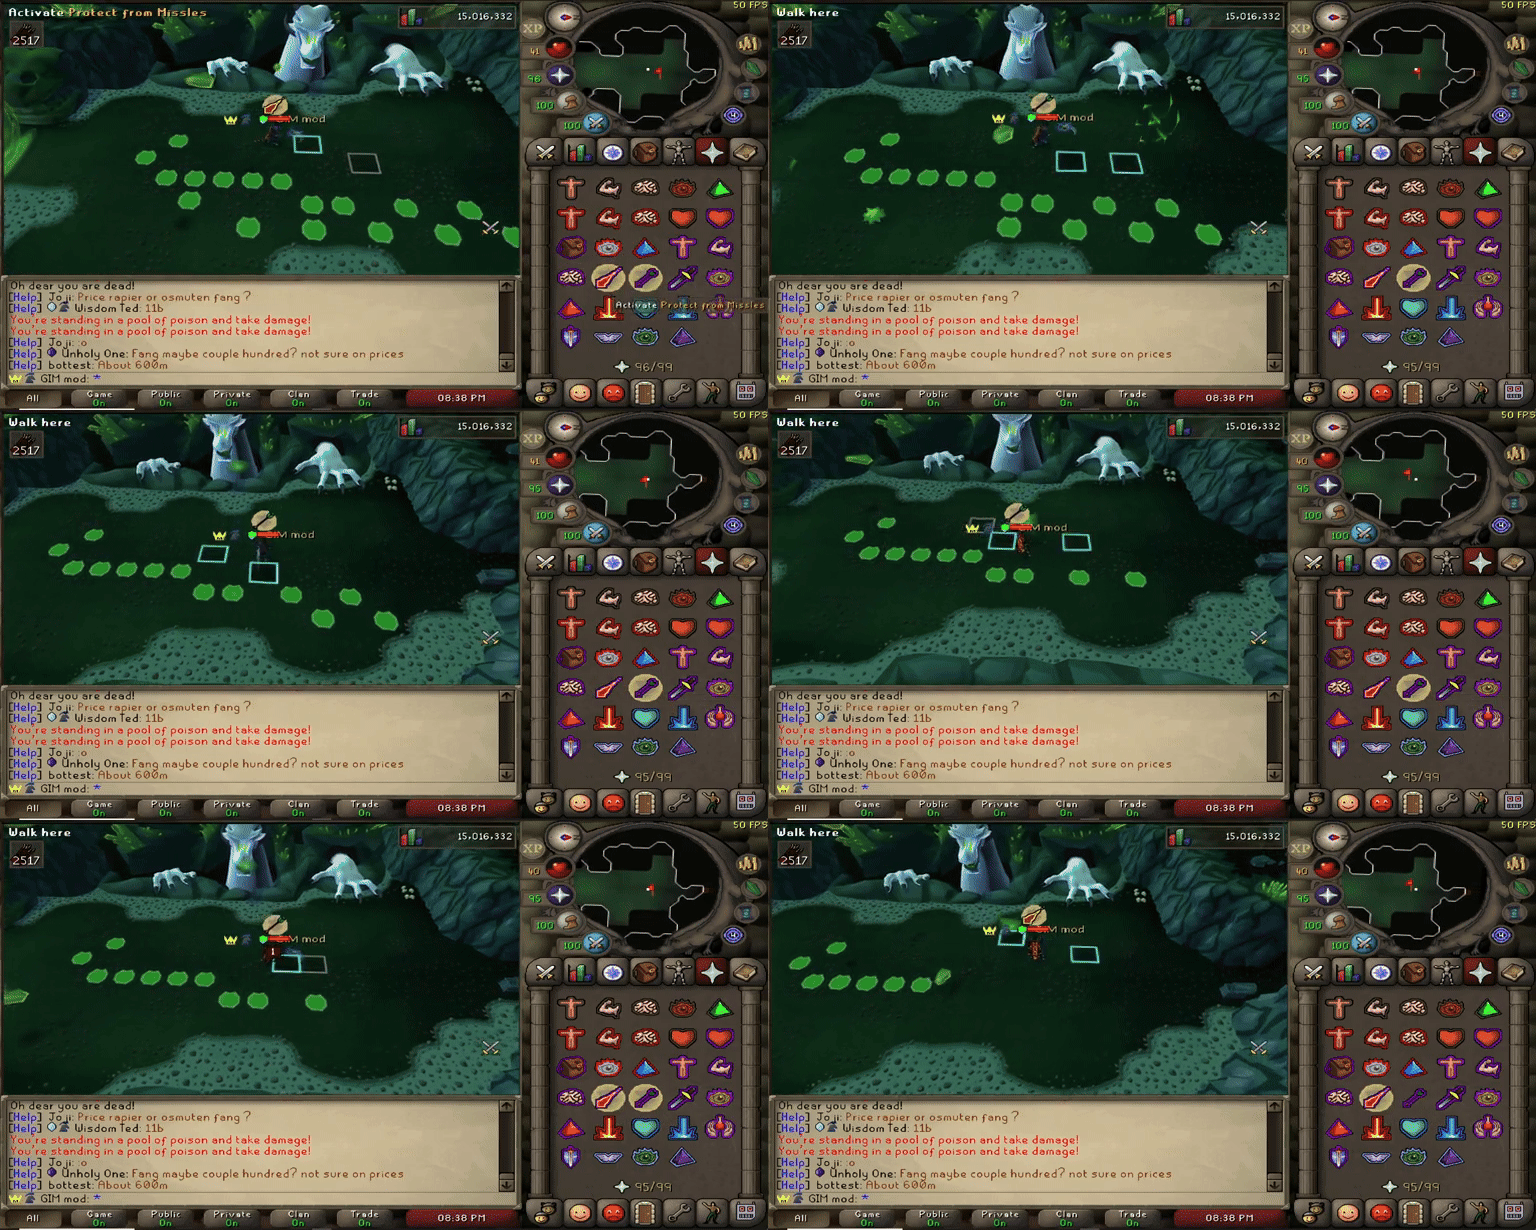
Final Room: Great Olm
The most challenging room as Olm is the final boss:
- Must use all 3 attack styles
- Olm switches between ranged and mage attacks - pray accordingly
- Left claw: Vulnerable to Magic only
- Right claw: Vulnerable to Melee only
Special Mechanics:
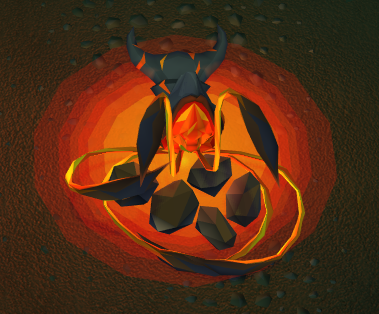
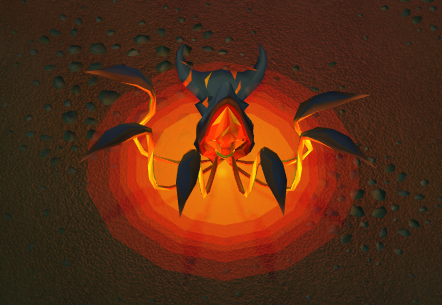
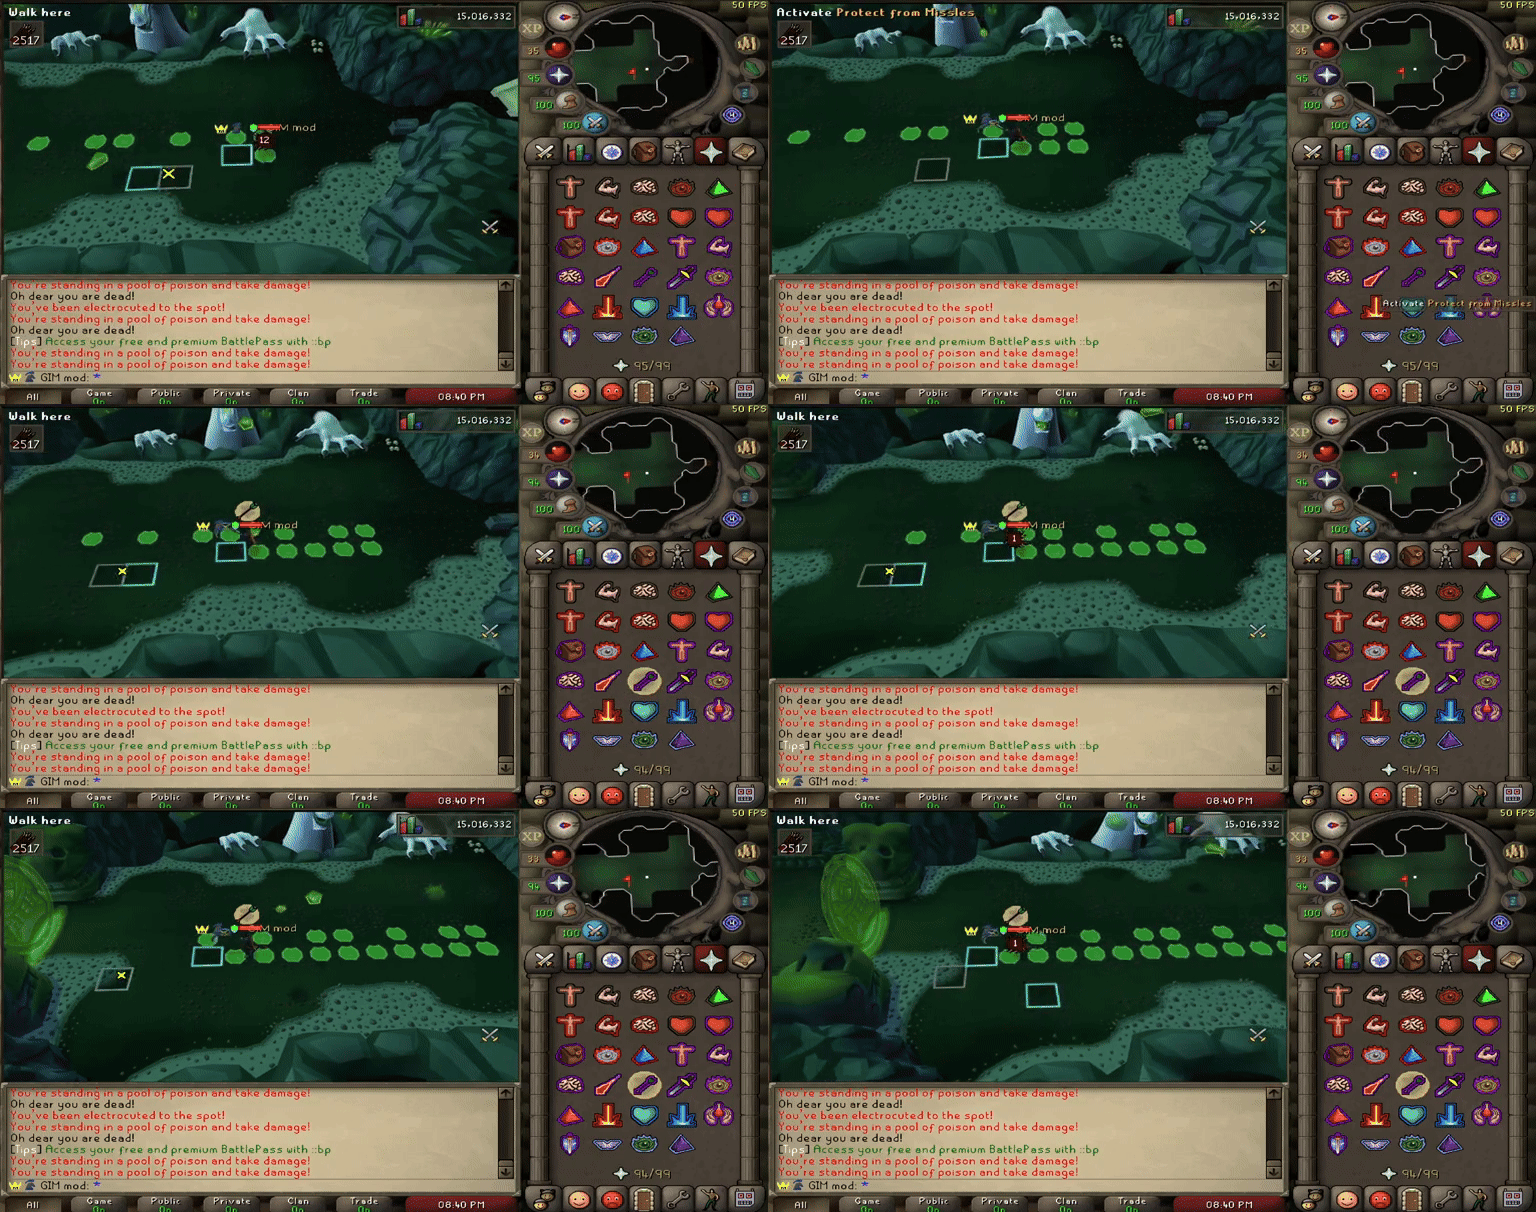
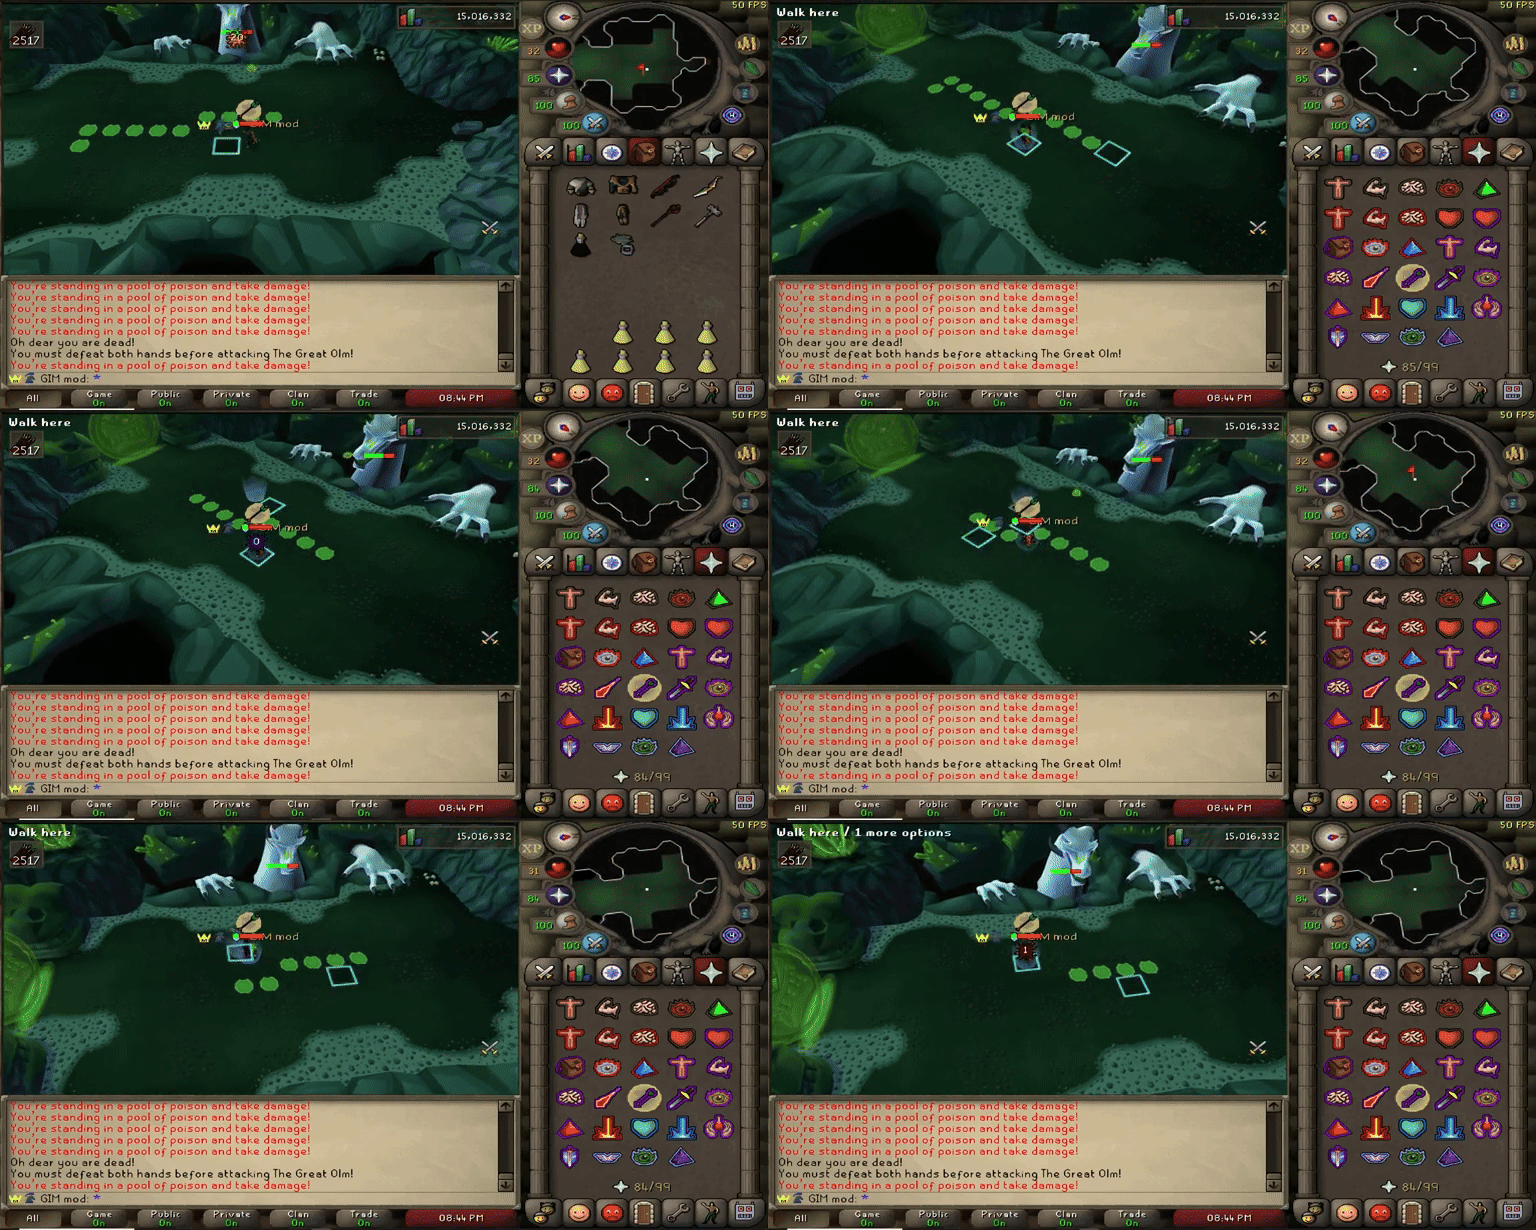
Poison Attack: Olm spits poison that makes you leave poison trails. Walk in a line until it stops:
Poison projectile appearance:
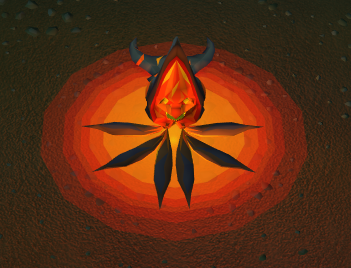
Teleport Portals: Move to the other matching portal to avoid damage:
Lightning: Dodge the moving lightning or be stunned and have prayers disabled:
Falling Crystals: Green crystals fall throughout the fight - avoid where they land
Hardmode Mechanic: Lightning moves in all directions (north, east, south, west) making them much harder to avoid.
