Chambers of Xeric: Difference between revisions
Created page with "=Chambers of Xeric= File:Coxthumbnail.png Chambers of Xeric is one of three raids on Delve located underneath Mount Quidamortem. It has two modes easy and hardmode with loot varying between the both of them. This raid can be challenging for new players be sure to bring your best items to take on the raid. There will be guides on easy and hardmode mechanics to prepare you for raids. The rare loot you can expect when running the raids is shown below. =Loot table= [..." |
No edit summary |
||
| Line 99: | Line 99: | ||
This room contains the Muttadile. You will need to protect from range when attacking Muttadile to reduce incoming damage. Its recommended to use range or melee while fighting. The primary attack is a ranged based attack with a secondary of shooting a fireball. If you see the fireball attack switch to protect from magic to reduce the damage you take from this attack. Note: if you bring an anti-fire you will be able to avoid this and only protect from range. There are no hardmode mechanics outside of damage. | This room contains the Muttadile. You will need to protect from range when attacking Muttadile to reduce incoming damage. Its recommended to use range or melee while fighting. The primary attack is a ranged based attack with a secondary of shooting a fireball. If you see the fireball attack switch to protect from magic to reduce the damage you take from this attack. Note: if you bring an anti-fire you will be able to avoid this and only protect from range. There are no hardmode mechanics outside of damage. | ||
[[ | [[File:Muttadile.gif]] | ||
'''Room 8''' | '''Room 8''' | ||
Revision as of 04:23, 7 March 2025
Chambers of Xeric
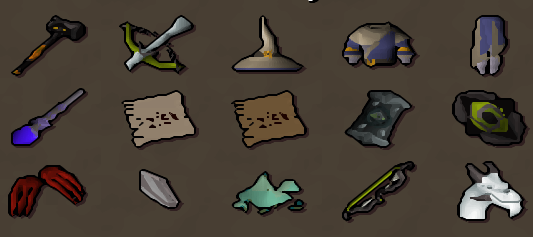
Chambers of Xeric is one of three raids on Delve located underneath Mount Quidamortem. It has two modes easy and hardmode with loot varying between the both of them. This raid can be challenging for new players be sure to bring your best items to take on the raid. There will be guides on easy and hardmode mechanics to prepare you for raids. The rare loot you can expect when running the raids is shown below.
Loot table
There are differences in loot tables when running COX. While in easy mode you will not be able to obtain the Crystal of ithell or Metamorphic dust which are hardmode exclusive items. These items are an achievement for those willing to take on the challenge of hardmode. Running hardmode has better odds of receiving a rare drop from the raid to make it worth your efforts.
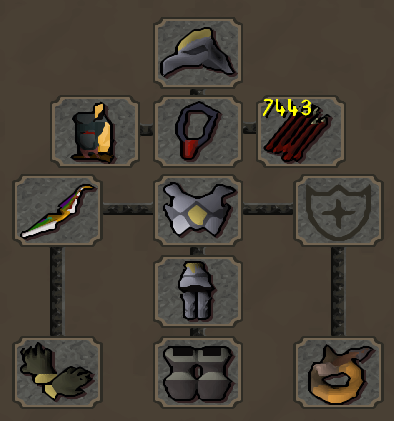
Gear setup
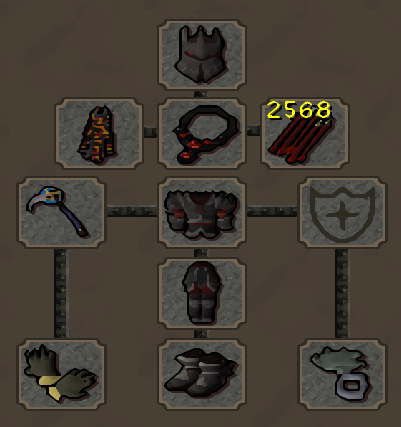
This is a max setup and not a requirement to complete the raids.
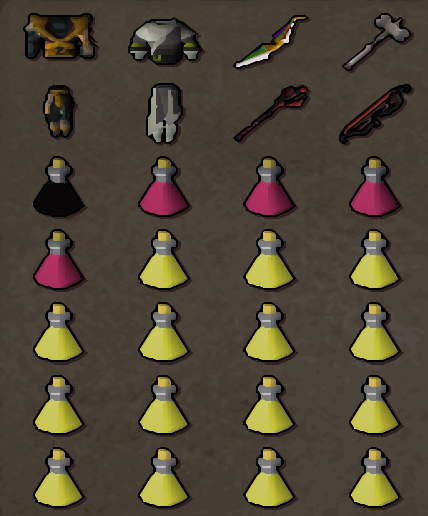
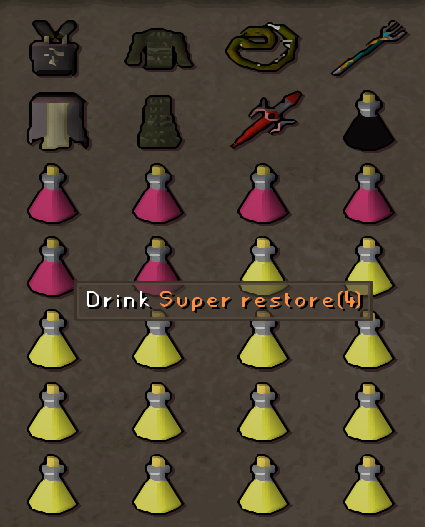
This is a more budget friendly setup for newer players. Keep in mind with lower tier gear it may take significantly longer to complete the raid if you run it solo. Asking more established players for help in running the raids can help you with getting more raids complete. Some sort of Anti poison is recommended with this set up to take less damage in the raid.
Getting to COX
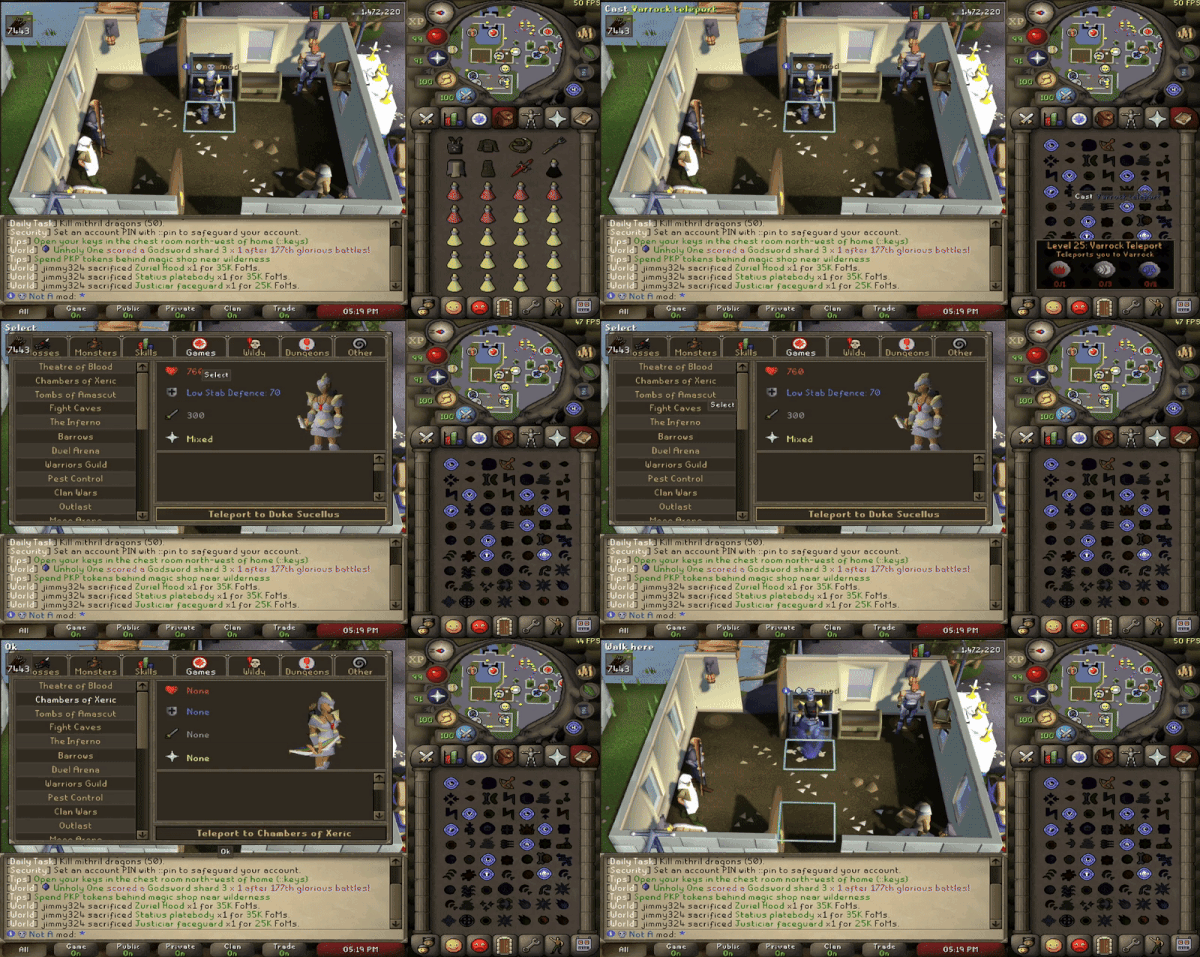
There are two different ways to get to COX to start raiding. The first method is shown below and the second easier option is to type the command ::cox which will put you outside of the raid.
How to join a raid
If you are planning to raid you will need to be in a raid party in order to enter the raid. If you are solo you are able to start a party by clicking on the two green faces on the bottom right and clicking create. If you are raiding with others you can start a party and right click the other player to invite them to the party or have them invite you to their party and accept the prompt when it shows up. You will need to be at COX in order to create a party and be invited.
COX Guide
When you're ready to start the raid you can enter the Chambers of Xeric. When you click enter it will give you the option of easy or hardmode choose the type of raid you wish to do. Hardmode has additional mechanics that easy mode does not they will be listed and the differences pointed out for each room. Once you clear a room you will be able to proceed to the next until you are at the boss Olm. If you die at COX you will be returned to the start of the raid unless you are at Olm then you will be sent to the prep area.
Room 1
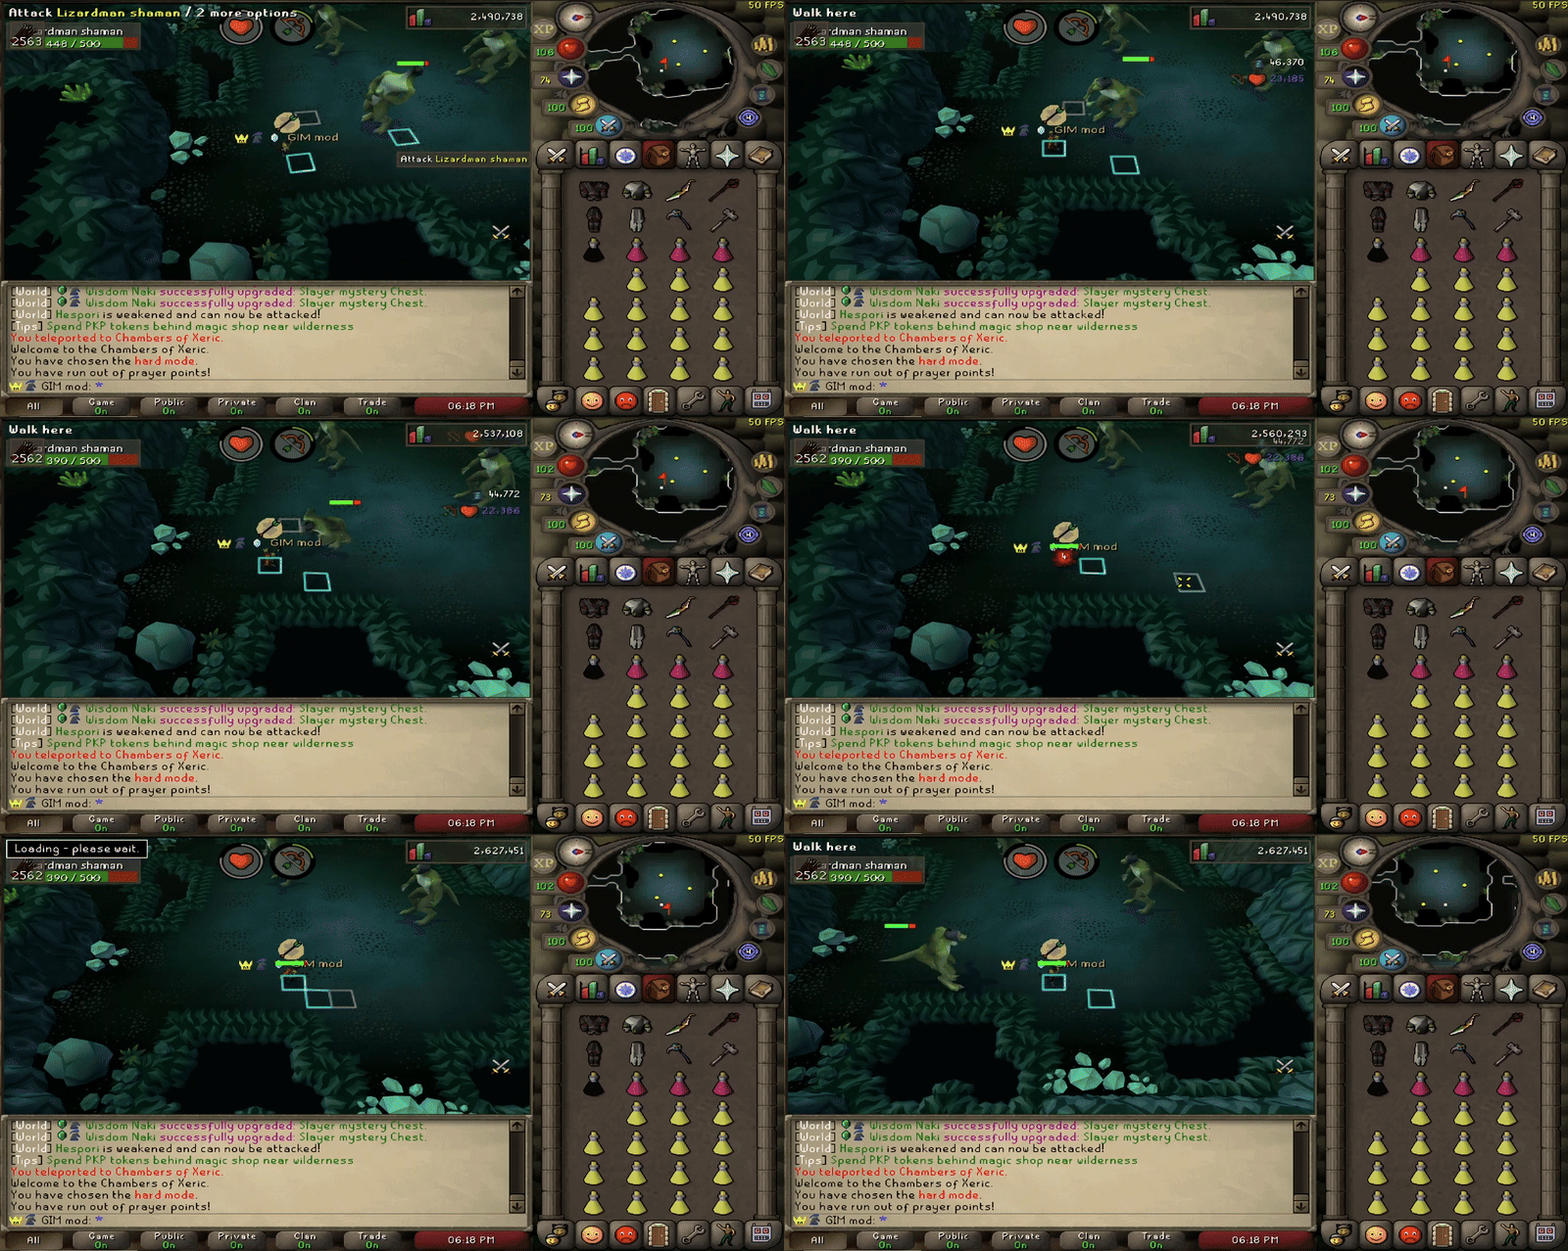
The first room you will enter contains 3 Lizardman shamans to kill. The best method for killing the shamans is using range attacks.
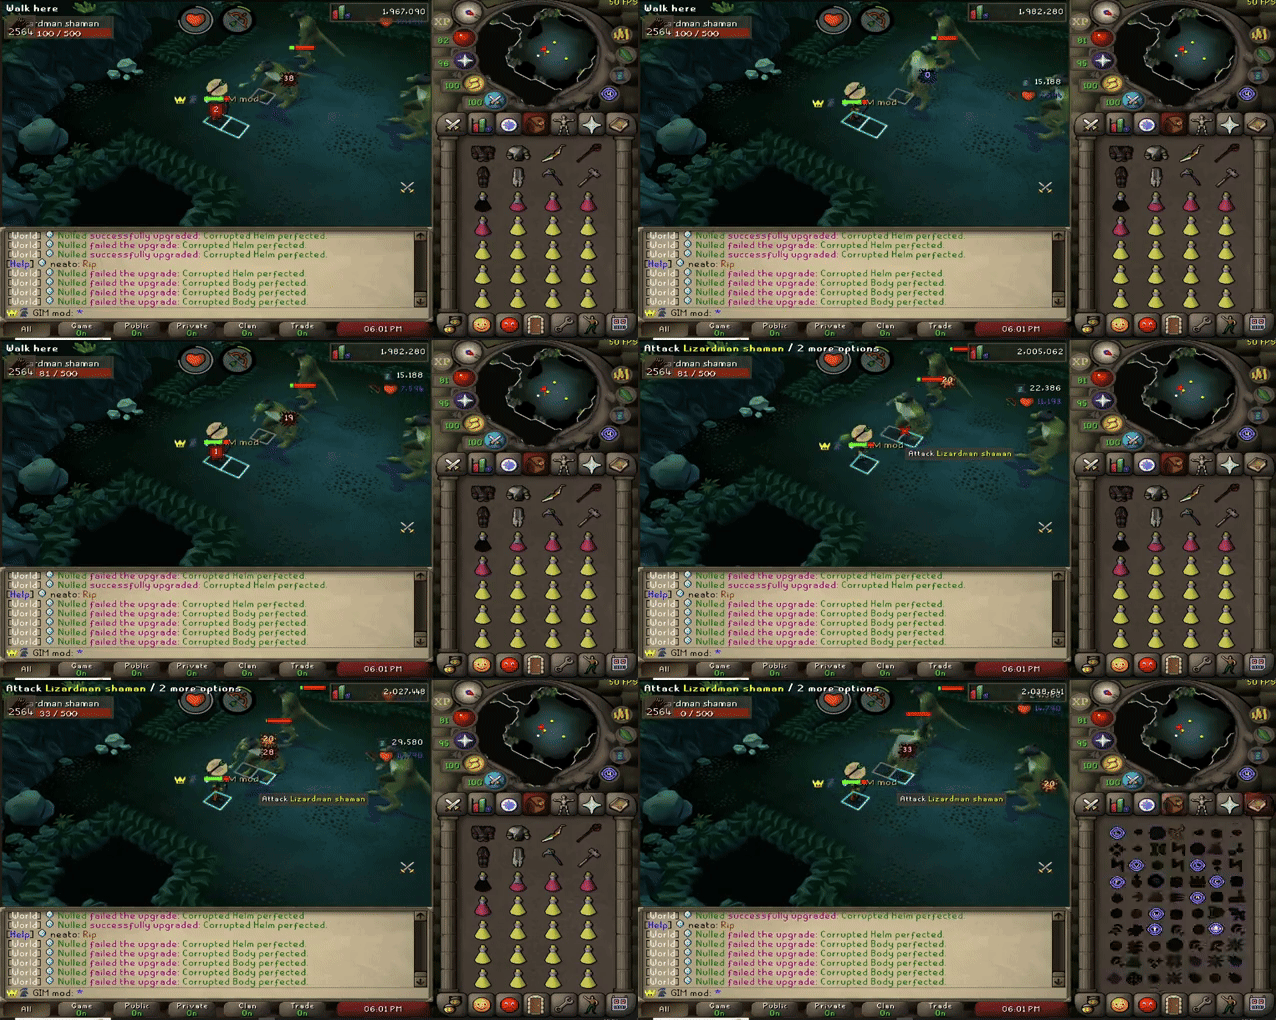
You need to enable your protect from ranged prayer to reduce incoming damage as they hit very hard otherwise. If you brought an anti-poison potion this is where it will be used at as they are able to poison you. When you start attacking them with protect from range turned on you can stand still and watch for the poison attack you want to avoid. Below is an example of dodging the attack and avoiding the poison.
Room 1 Hardmode mechanic
While running hardmode there is one additional mechanic to worry about in this room. The shamans will jump into the air and will land in the area you are standing. If you see them leap into the air move to a different section of the room to avoid the high damage they will do. Below is how to safely avoid that mechanic.
Room 2
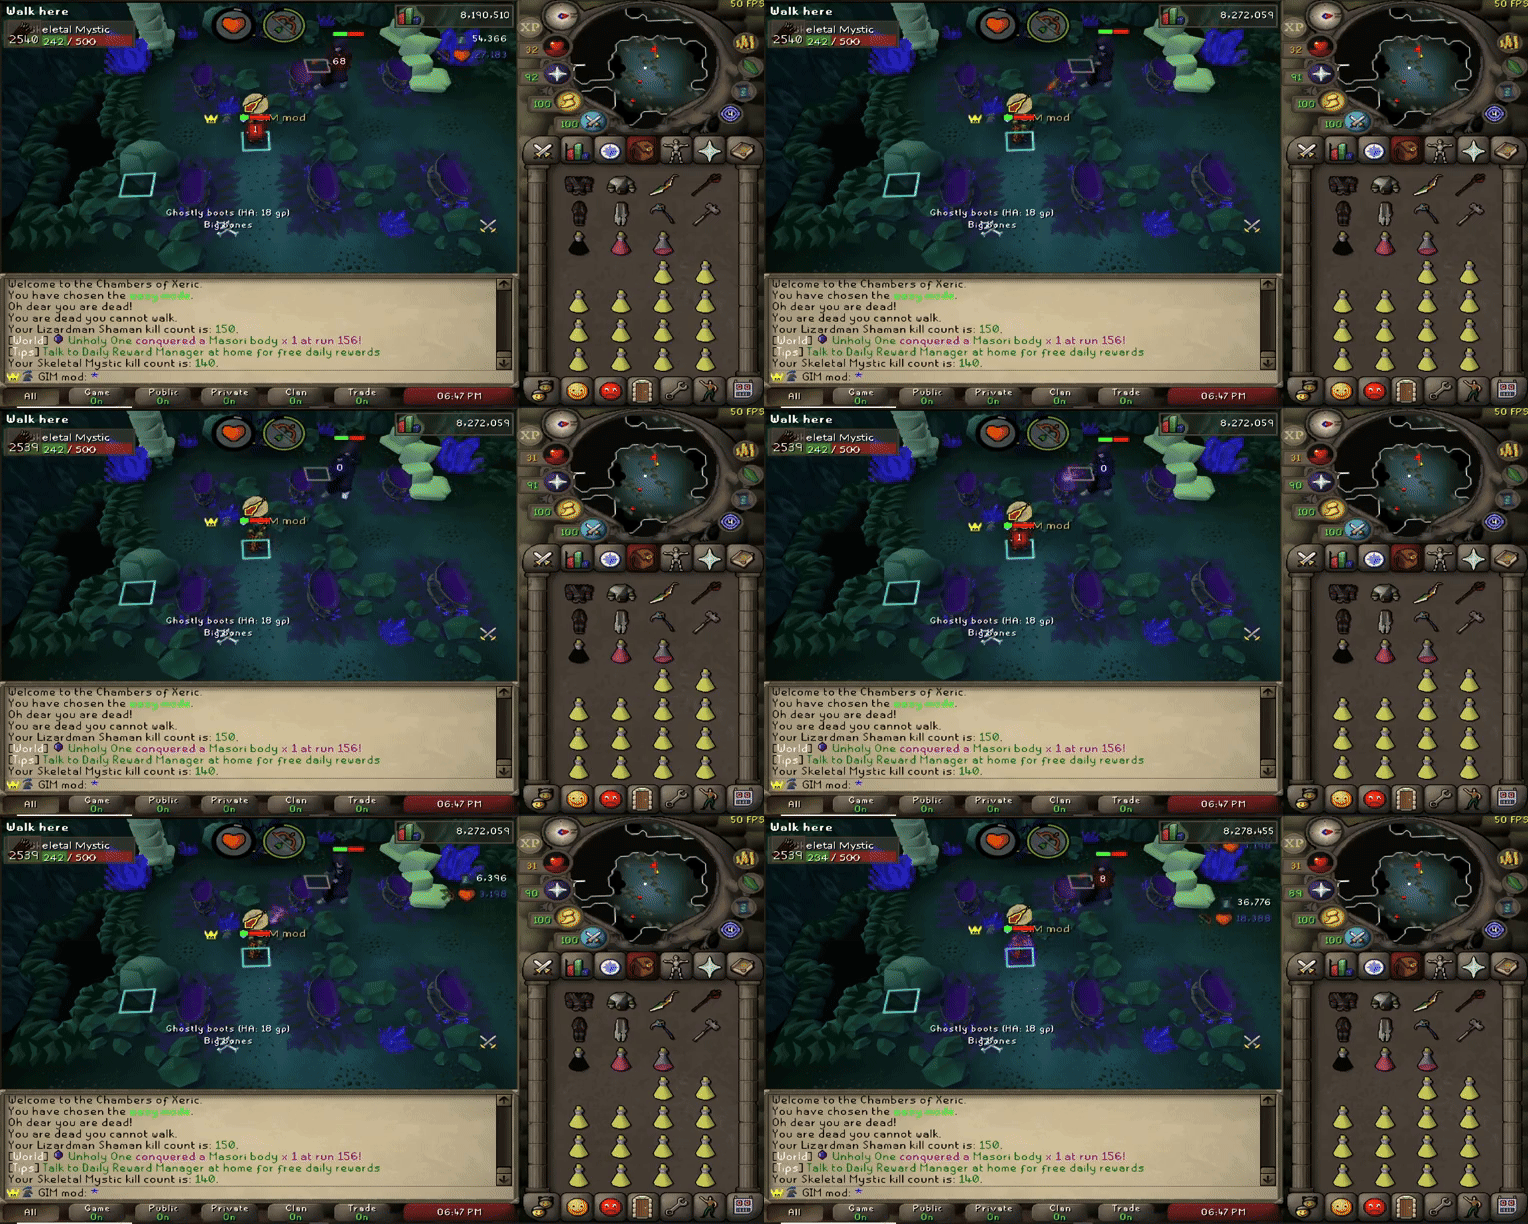
The next room will contain 3 Skeletal Mystics. This room is very straight forward you will need to protect from magic killing them one by one. When the room is clear you can proceed to the next room. There is no special hardmode mechanic however they will deal more damage in hardmode. The best way to kill them is by using range attacks.
The shamans will cast a curse spell reducing your defence, it will be a purple projectile shown below.
Room 3
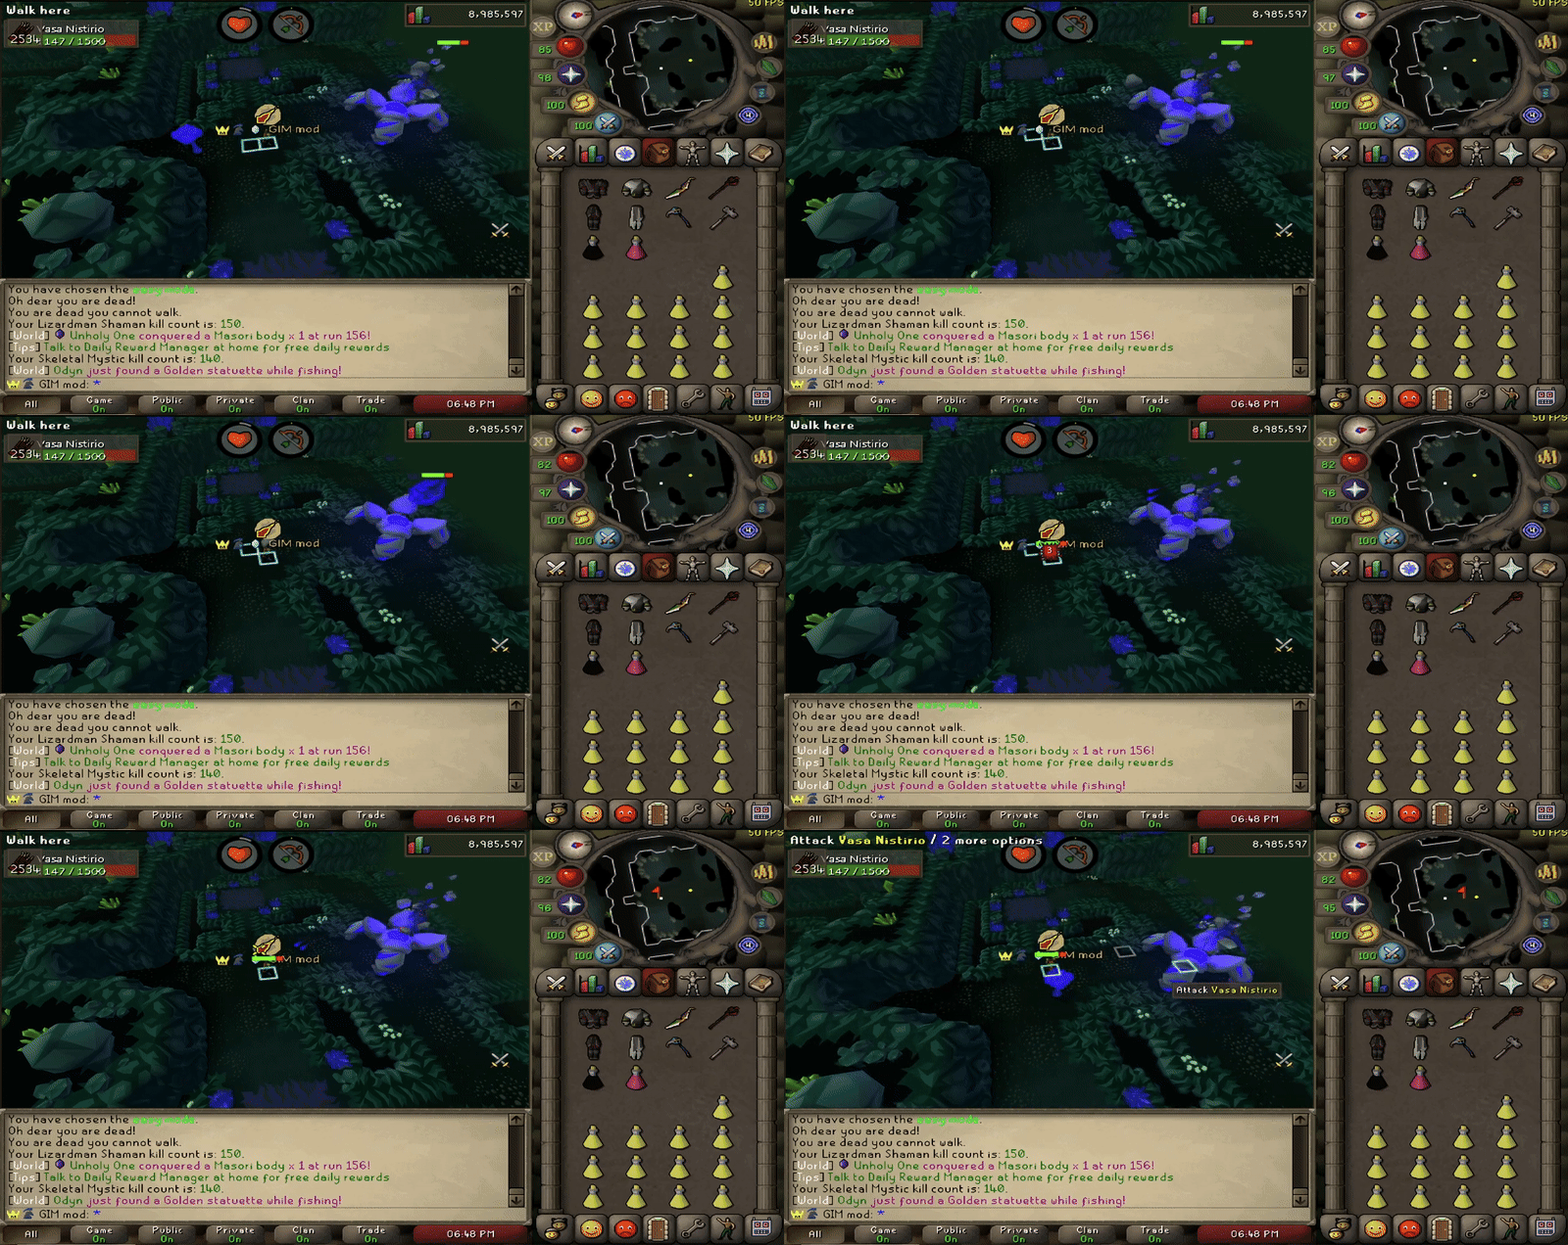
This room will contain Vasa Nistirio. You will need to protect from magic while fighting. He will throw boulders at you as the primary attack. The secondary attack will be two blue balls spinning towards the tile you're standing on that will produce a smoke cloud. You will need to dodge this attack by moving at least one tile away from where you were previously standing. Shown below is what the attack looks like and how to dodge it. Its recommended to use range in this room. There are no special hardmode mechanics here outside of more damage.
Room 4
This room will contain 3 different type of vangaurds to kill. Each one will require a different type of attack style in order to kill it meaning you need all 3 attack types. Below will be a picture of each type and the style needed to kill them. They will also use different attack types so be sure to look at them carefully to know which one they do. There are no special hardmode mechanics here outside of more damage.
Protection: Melee
Attack with: Mage
Protection: Range
Attack with: Melee
Protection: Mage
Attack with: Range
Room 5
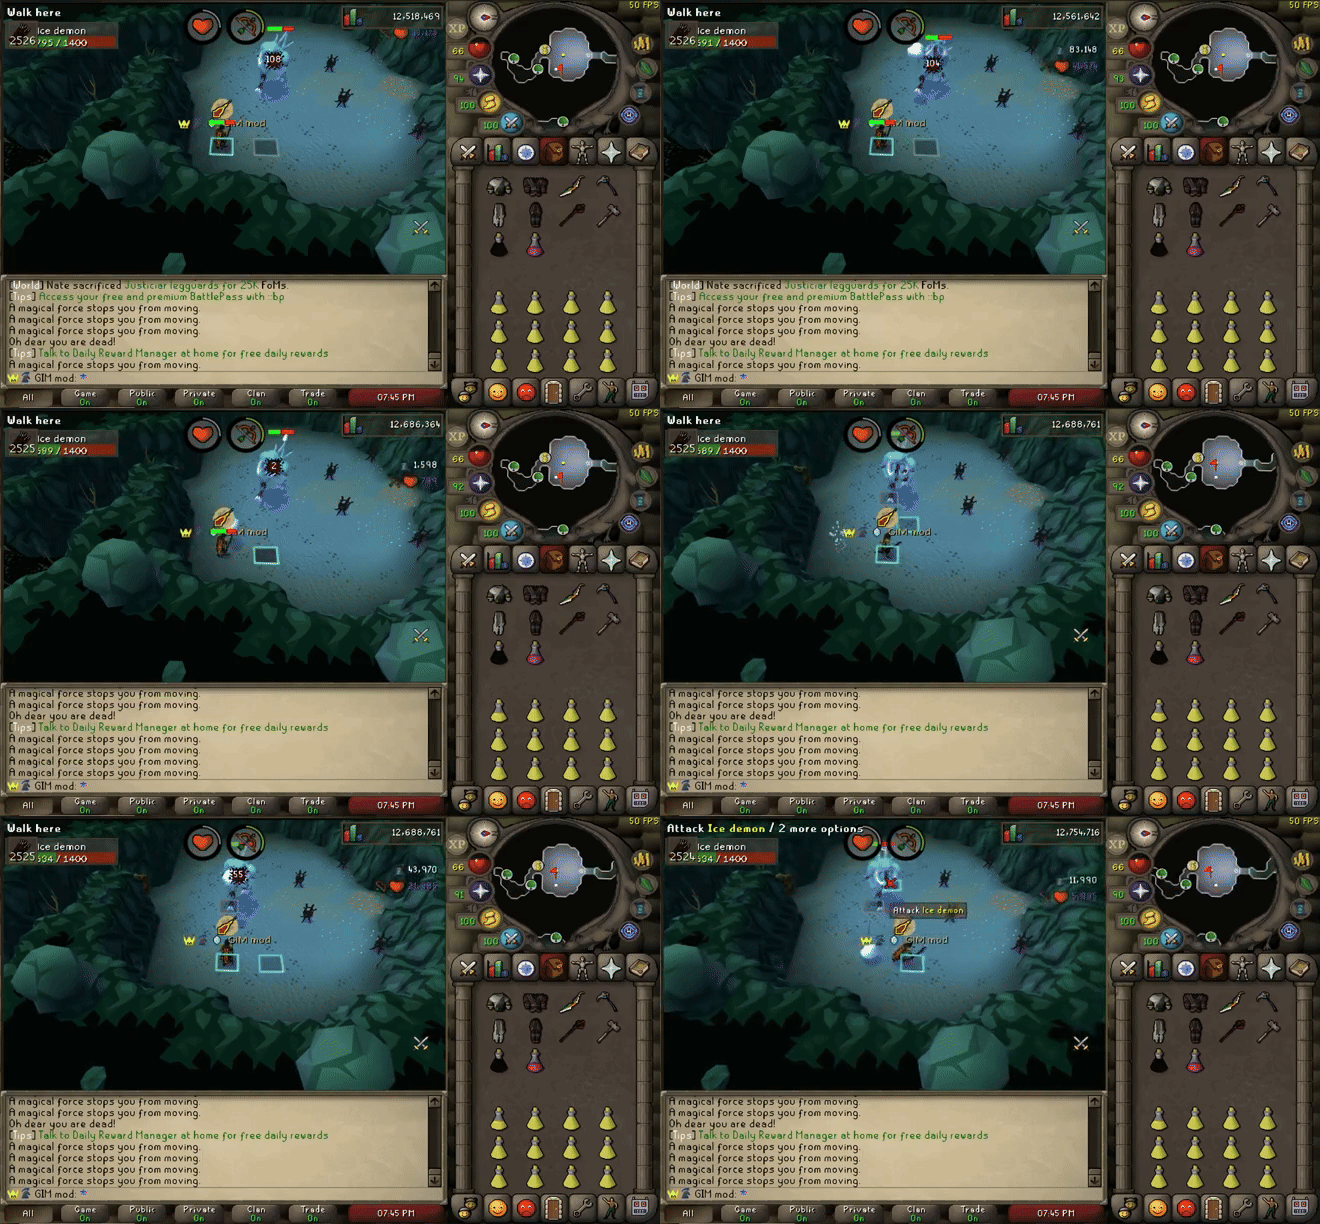
This room will contain an Ice Demon you will have to kill. The ice demon will throw snow boulder at you that you need to dodge as his primary attack. These are similar to Vasa when dodging their secondary attack, you need to step two tiles away from where you are currently standing. The Ice Demon only targets one player at a time so if there are more players you don't have to dodge as often. There is a secondary attack where you'll be frozen being unable to move. When this happens, you will need have to tank any of the snow boulders thrown at you. Range attacks are reccomended to kill the Ice Demon. Using protect from mage should reduce some damage taken when the Ice Demon freezes you. There are no hardmode mechanics outside of damage.
Room 6
This room does not contain anything to kill its full of chests. All you need to do is run to the next passage to continue.
Room 7
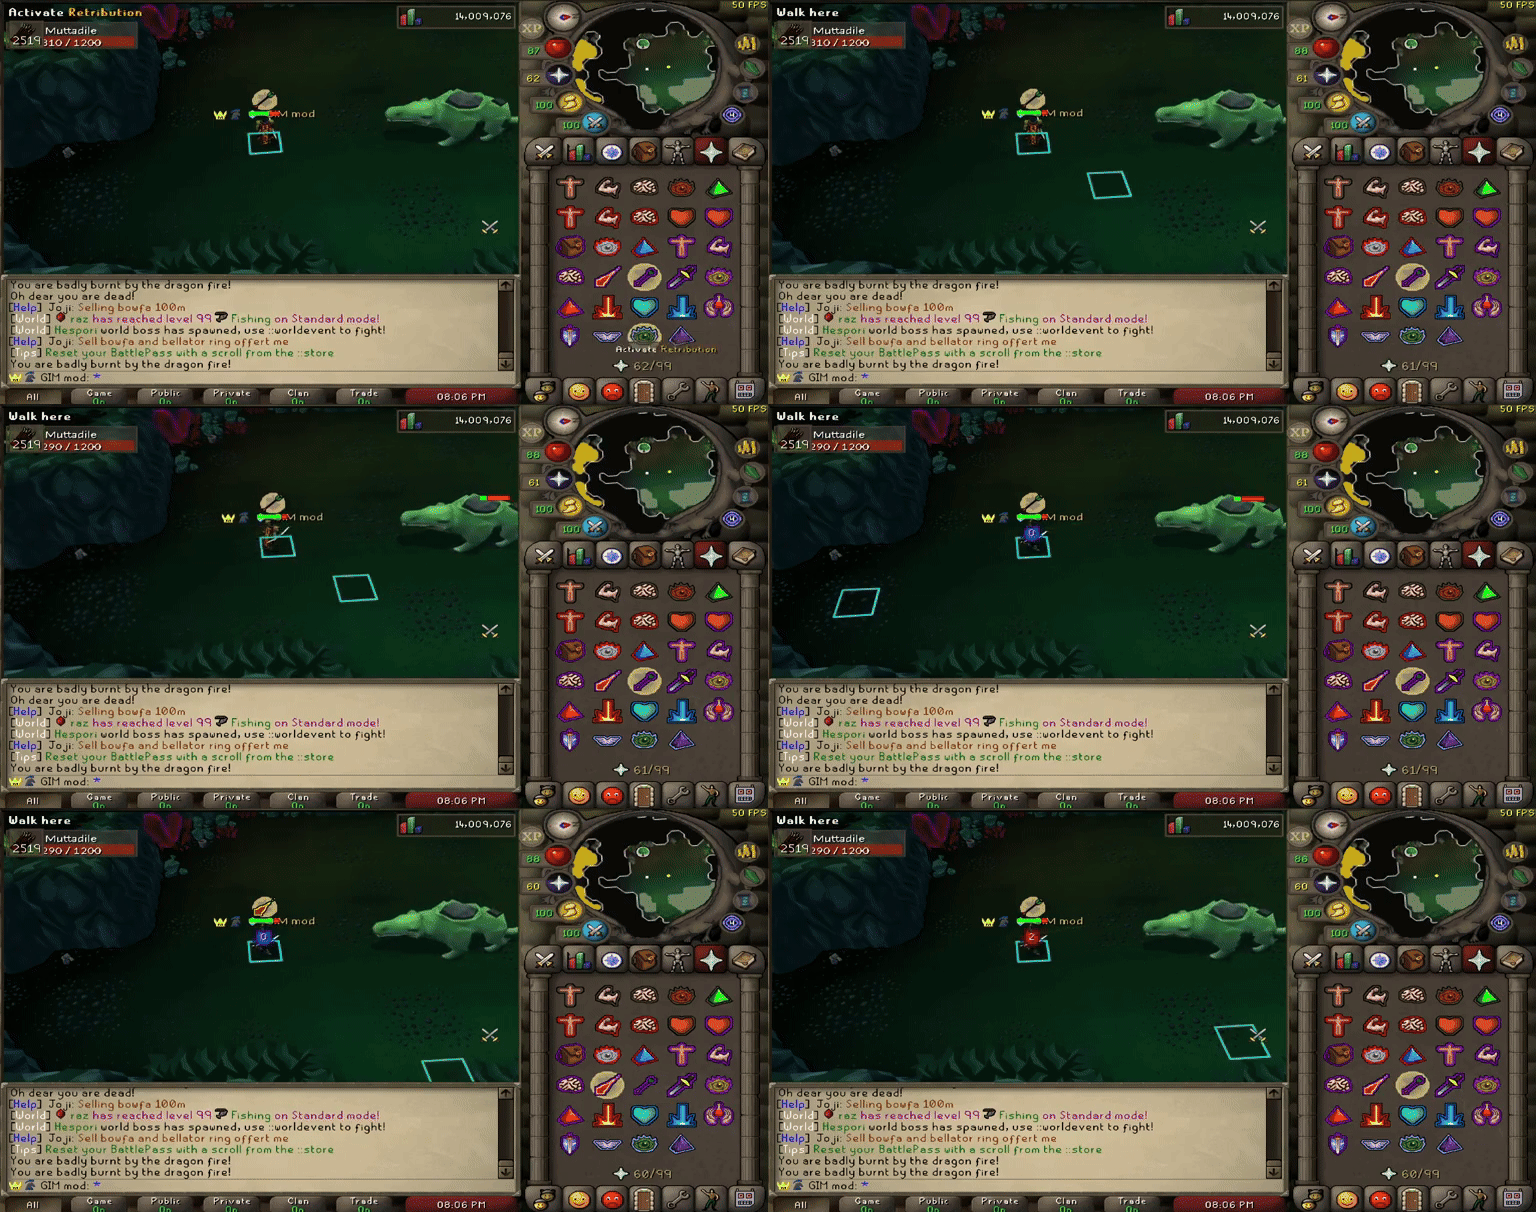
This room contains the Muttadile. You will need to protect from range when attacking Muttadile to reduce incoming damage. Its recommended to use range or melee while fighting. The primary attack is a ranged based attack with a secondary of shooting a fireball. If you see the fireball attack switch to protect from magic to reduce the damage you take from this attack. Note: if you bring an anti-fire you will be able to avoid this and only protect from range. There are no hardmode mechanics outside of damage.
Room 8
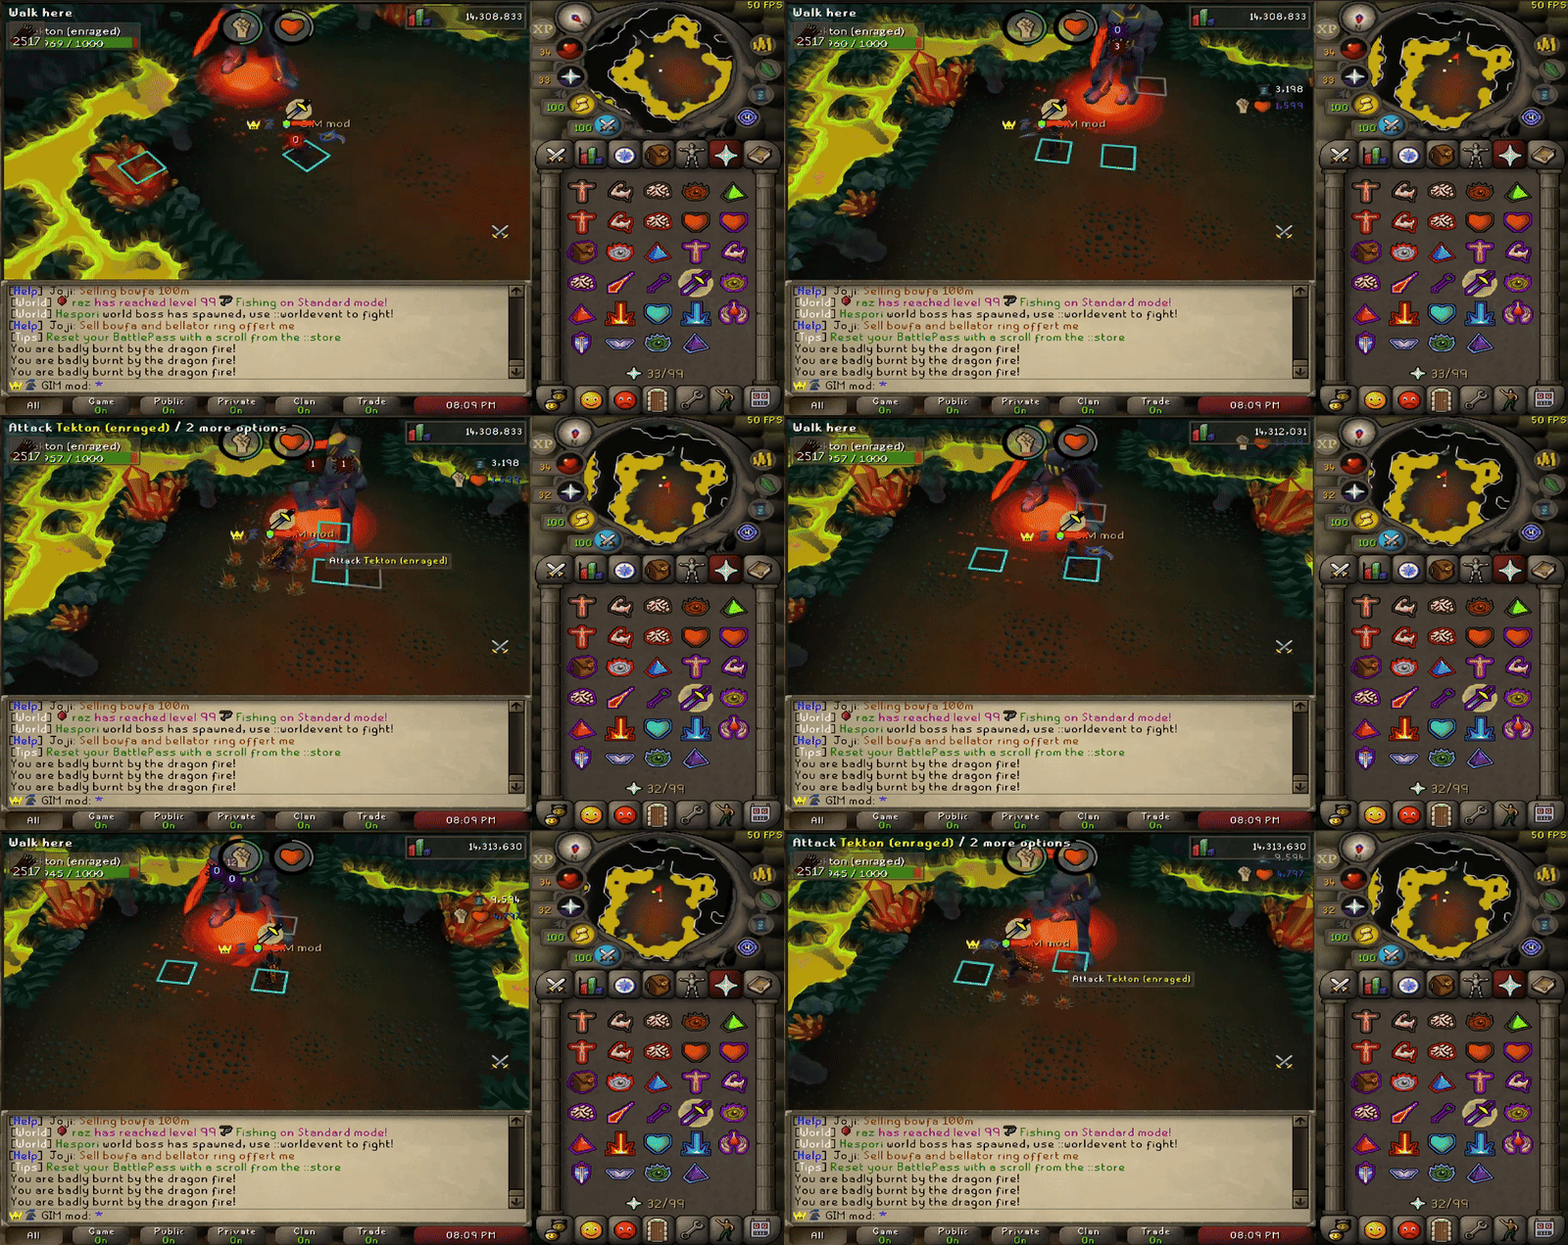
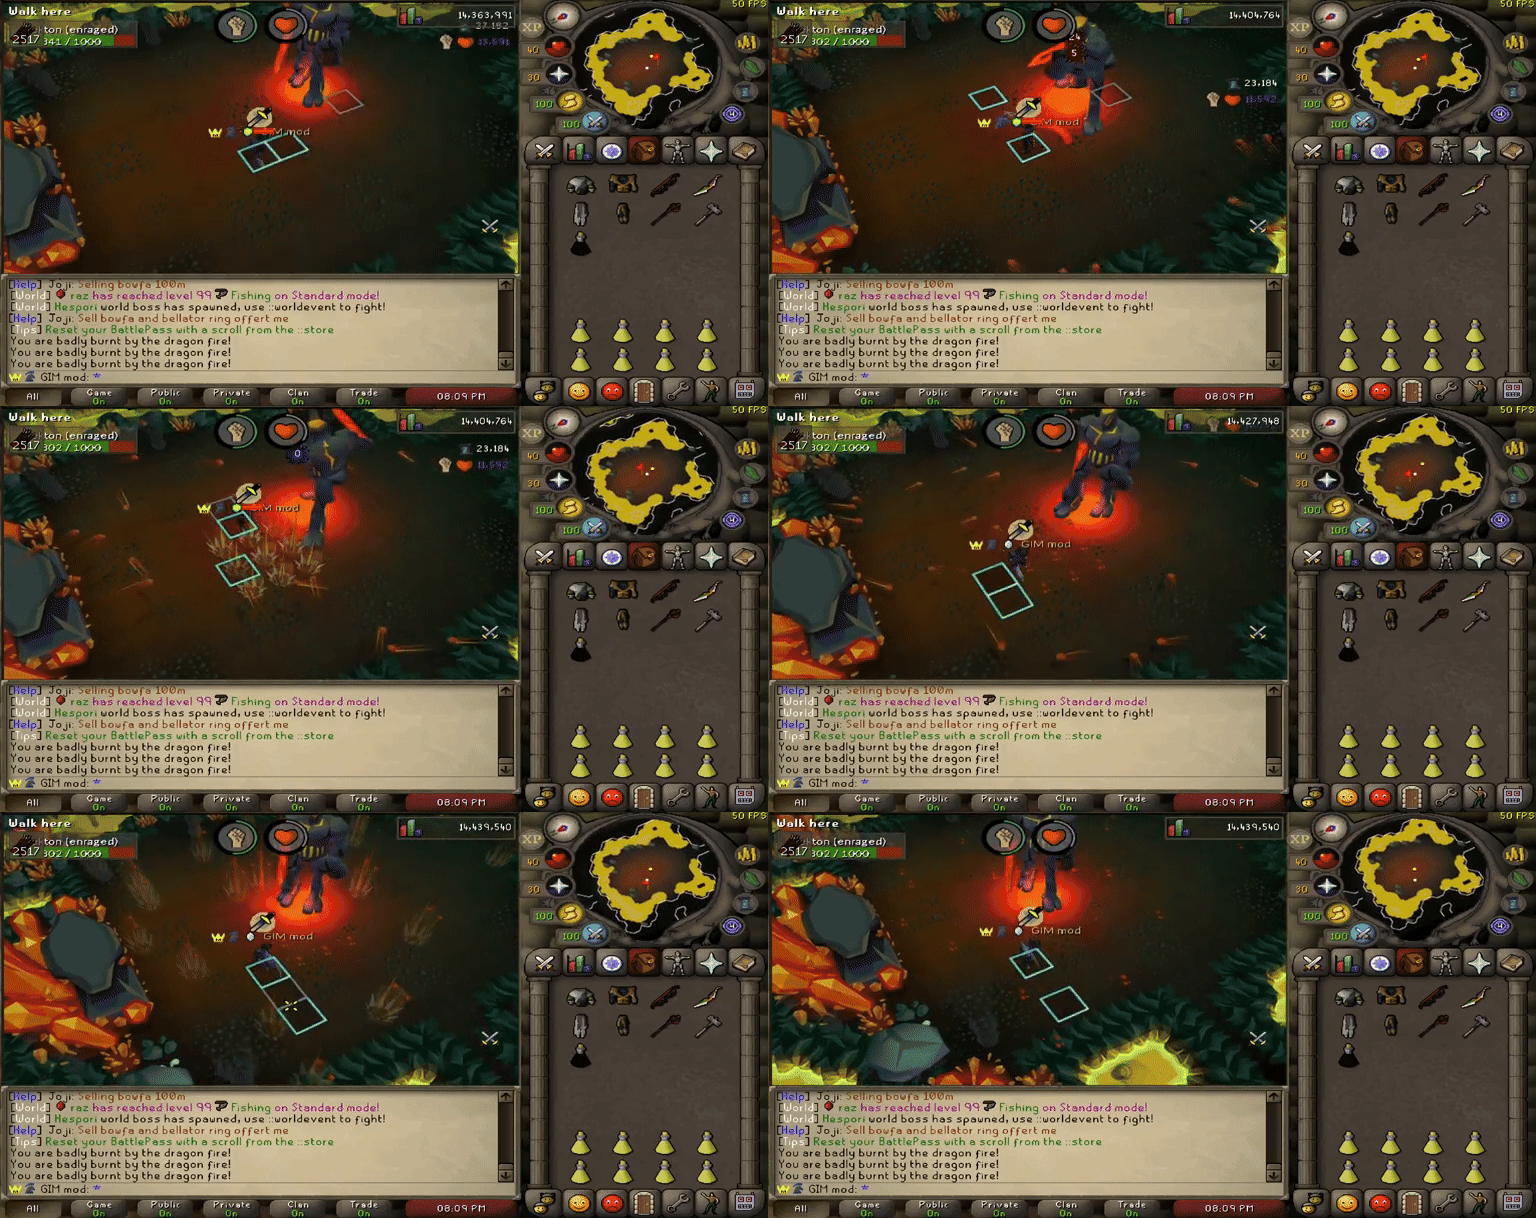
This room contains Tekton which can only be killed with melee. You will need to protect from melee while fighting Tekton. The main attack is melee atacks from tekton however there are a couple secondary attacks that happen while in the room. If you have a Dragon warhammer or a Statius warhammer its advised to spec Tekton with both specs to make it easier to damage Tekton. There are two other things you will take damage from while fighting Tekton. There is an AOE attack that will be a 3x3 typeless damage meaning you cant pray against it. You can however run to avoid it in the small windows before it does damage. The other is projectiles that will rain down into the area you can avoid these by moving to a tile where one is not landing. Show below are how to avoid both of these damages.
Room 9
This room is a prep room to prepare you for olm. Enter the whole to enter the fight to Olm.
Final Room
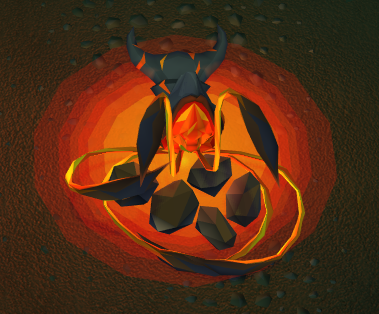
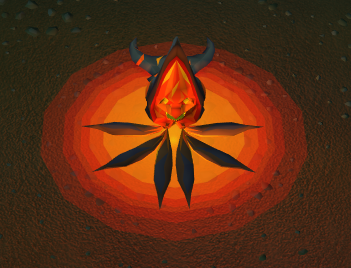
The final room is where you will meet Olm. Olm is the hardest room of all of them as Olm is the boss. In this room you will need to use all 3 attack style to kill Olm. Not only that but the boss will switch between two attack styles being range and mage. To avoid dying you will need to switch prayers while avoiding the other mechanics in the room. There are special mechanics you'll need to know about olm. The claws are weak to only one attack style meaning you have to use a specific attack style to kill the claws. The left claw is vulnerable to magic while the right side is vulnerable to melee only. This is the basics of the room below will be the special mechanics to look out for.
Special Mechanics
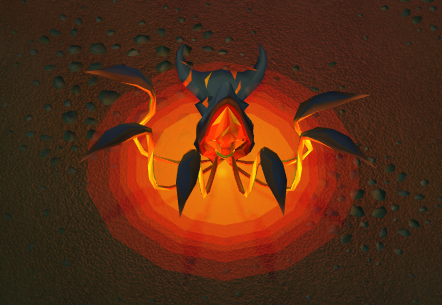
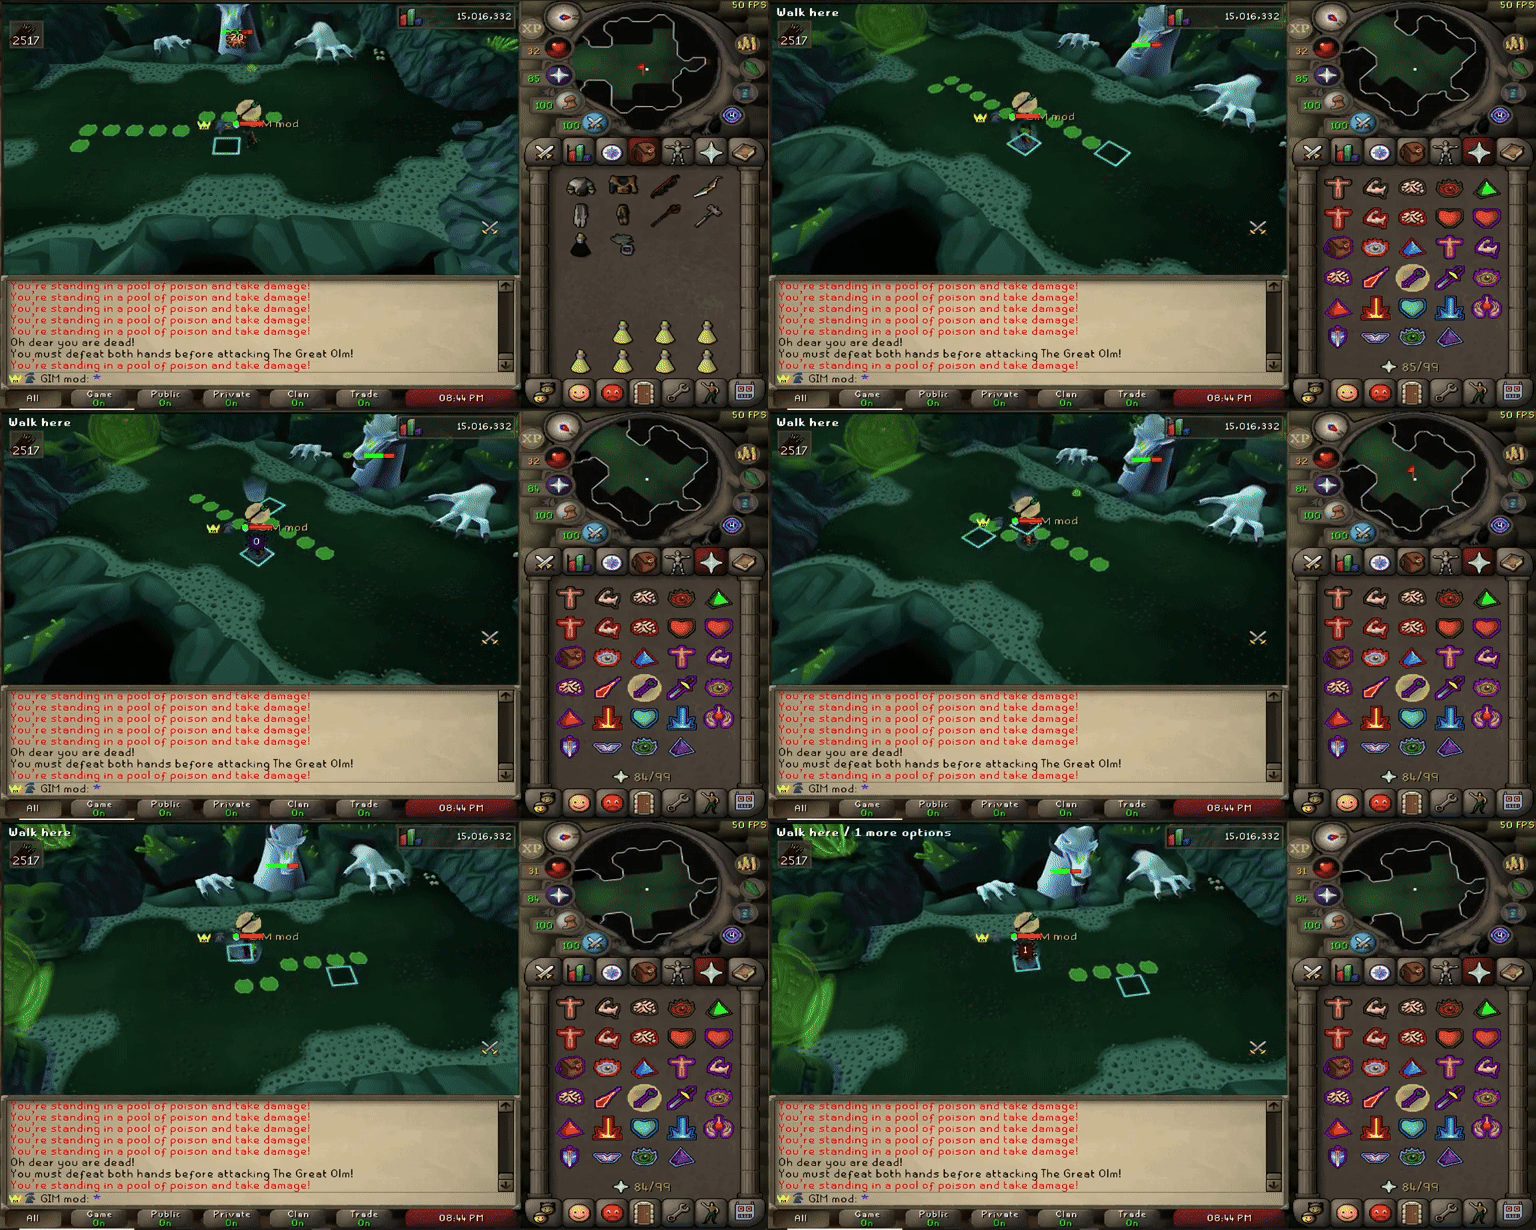
Olm will spit poison at you that looks like the image shown below. This is not avoidable and will make you drop poison on the tiles below you. You will need to walk in a line until the poison stops appearing, careful to avoid other players if they are raiding with you as this will damage them if you walk under them. The poison tiles deal damage to anyone standing on them.
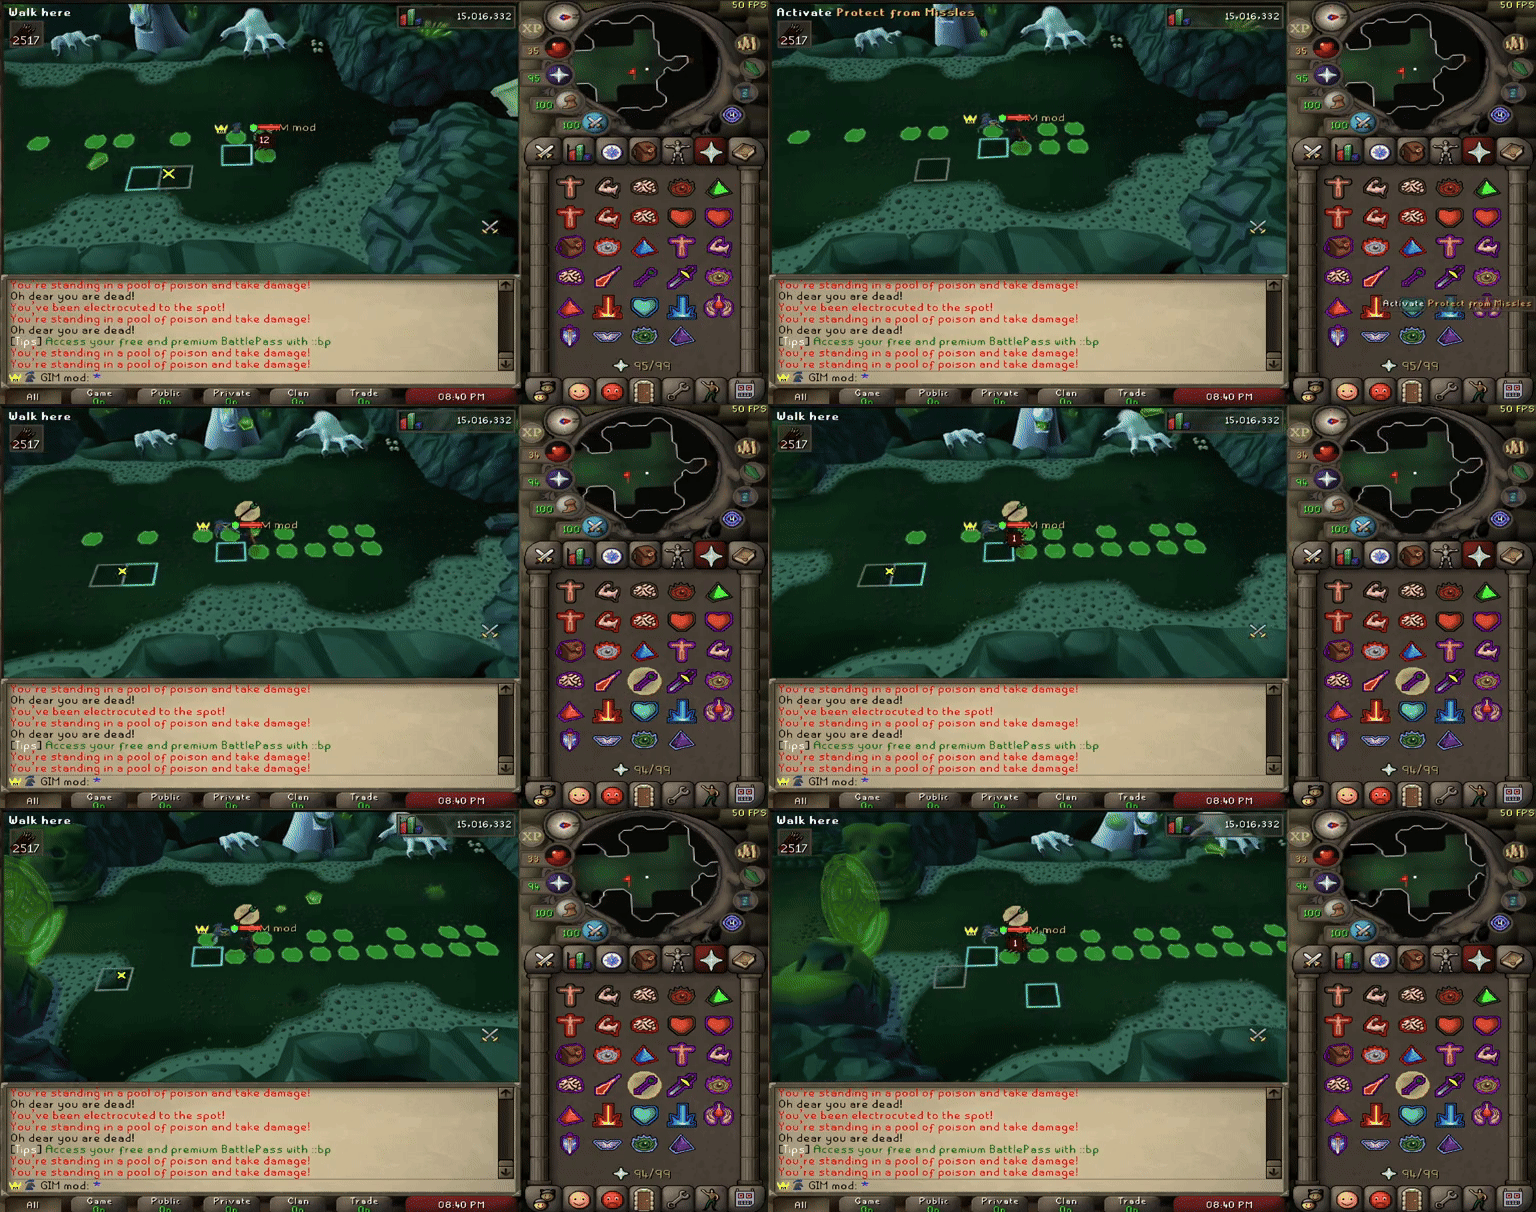
![]() This is what the poison spit projectile looks like.
This is what the poison spit projectile looks like.
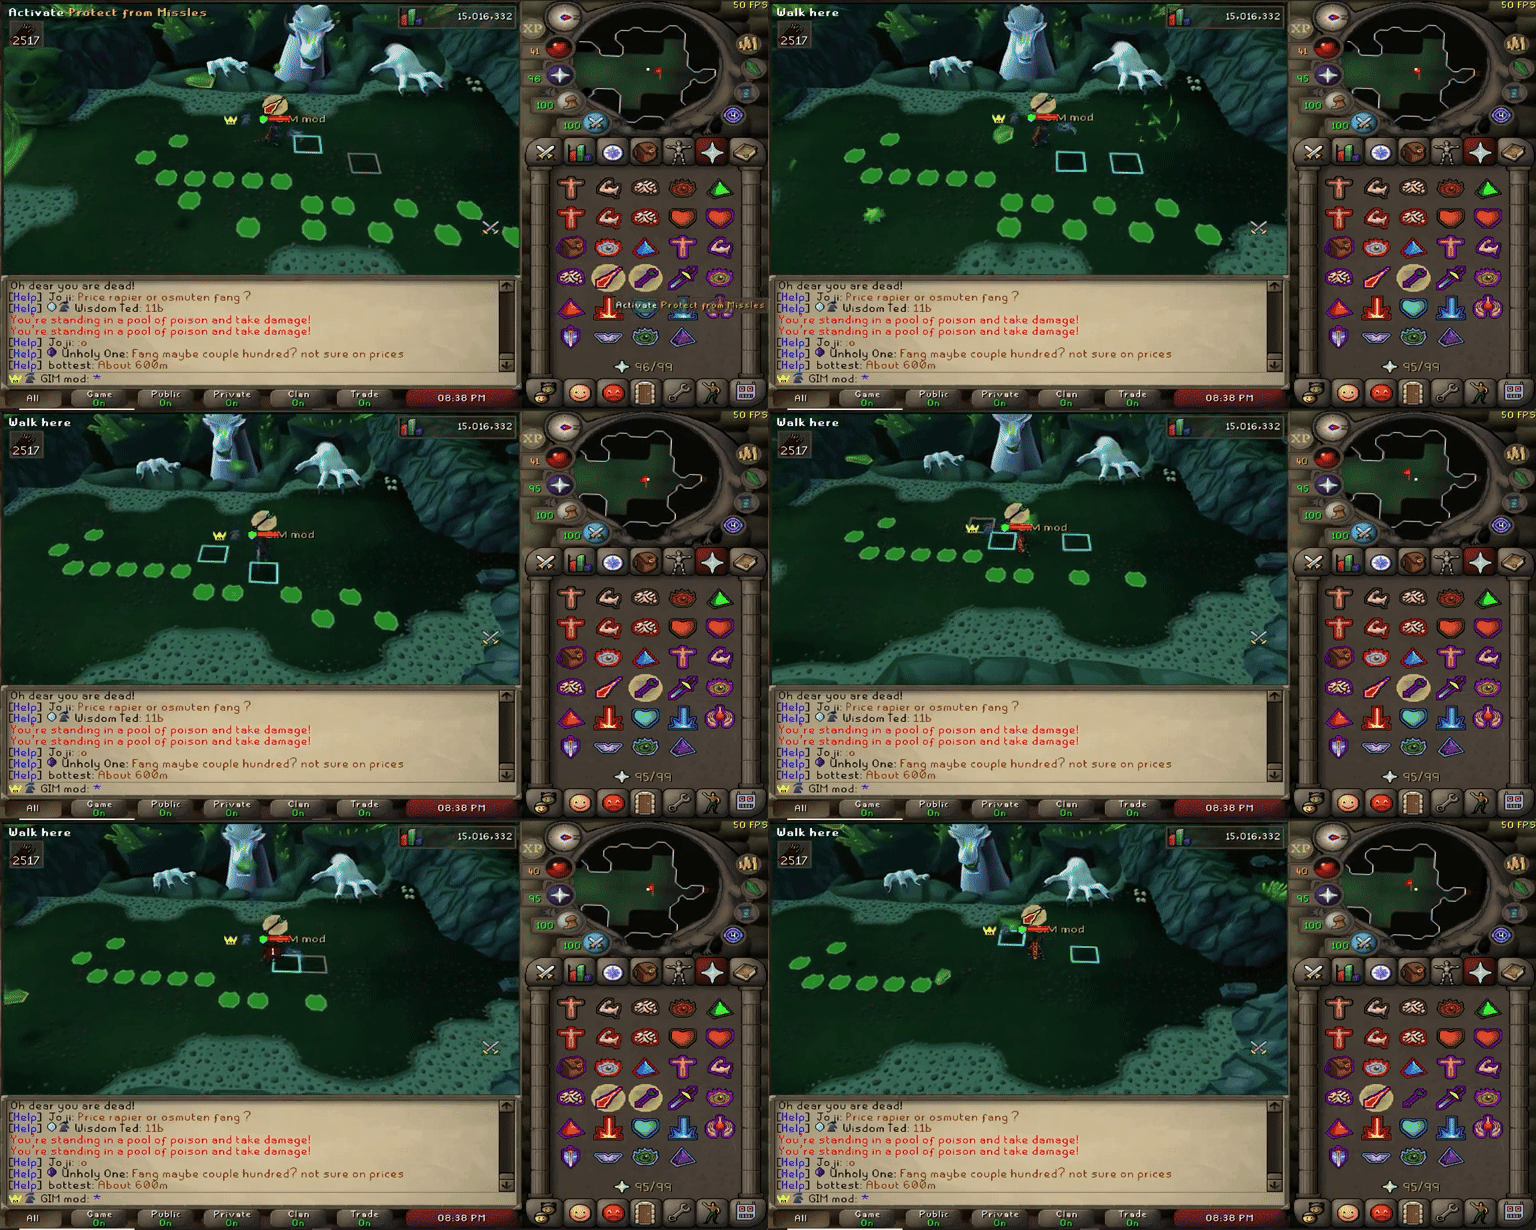
Olm will spawn a portal beneath you and there will be another one in the area or another person with one as well. You will need to move to the other spot or person so to avoid being teleported and taking damage. Below is an example of how you need to move to the other portal.
Olm will spawn lightning that moves north and south you will need to avoid them as they are moving or you will take damage that prayers don't protect against. They will disable your prayer as well and stun you in place making it difficult to avoid any other mechanics. Below is an example of avoiding the lightning.
The last mechanic to look out for is the constant falling green crystals they will deal damage to you if you are where they land at.
Hardmode Mechanic
There is a difference to how hardmode works from easy mode while fighting Olm. The lightning attack will move in all directions making them much harder to avoid. This means they move north, east, south and west which is difficult at times to maneuver around. This is the only hardmode mechanic in the fight.
