Tombs of Amascut: Difference between revisions
No edit summary |
No edit summary Tag: Manual revert |
||
| (7 intermediate revisions by 2 users not shown) | |||
| Line 1: | Line 1: | ||
= Tombs of Amascut (TOA) = | |||
== Introduction == | |||
TOA is a high level raid, doable in groups but not recommended for solo unless you have near to max gear. | |||
You can get there by using '''::toa''' or opening the spellbook → ''Minigames'' → ''Tombs of Amascut''. | |||
Before you enter you need to make a party or join one, just like the other raids. | |||
You will need melee as well as ranged to complete this raid. It's advised to have at least void/crystal armor and a solid melee weapon like rapier/tentacle whip. | |||
Once you enter you will see 5 entrances and 4 you are able to enter right away, being: | |||
* Path of Het | |||
* Path of Crondis | |||
* Path of Scabaras | |||
* Path of Apmeken | |||
Once you've completed these, you can enter the last one and face the wardens. | |||
'''Important:''' After each fight a ghost will appear. To proceed, make sure to right-click it and click "proceed". | |||
[[File:toa_room.jpg]] | |||
== Path of Het (Akkha) == | |||
'''Combat style:''' Melee<br> | |||
'''Protection Prayer:''' Melee | |||
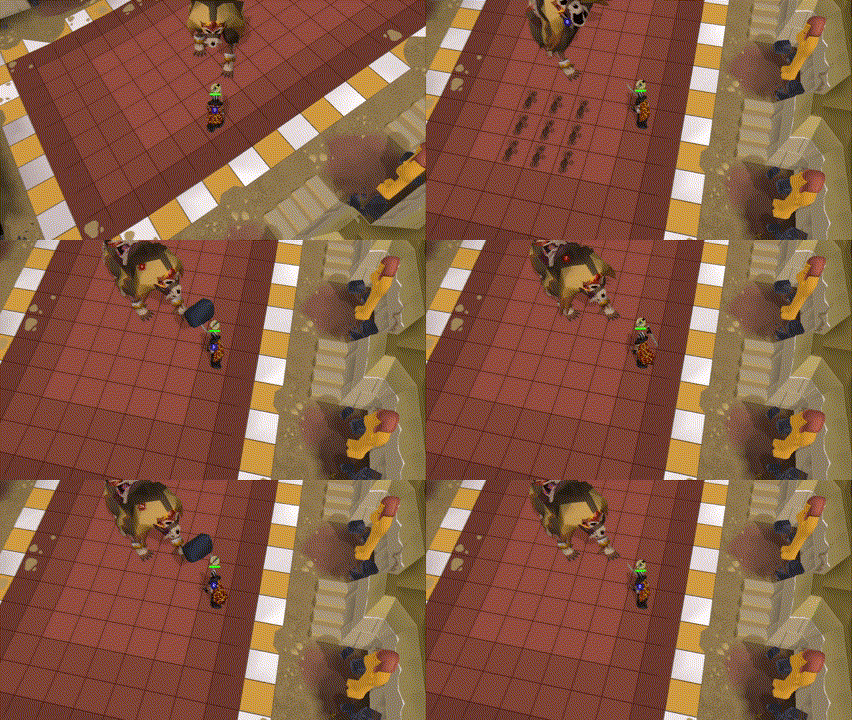
This fight isn't that special - just keep your prayer up and prepare for his special attack. | |||
When he slams his spear into the ground, four symbols will light up after each other, showing you where to stand and in which order (see the GIF below). | |||
[[File:akkha_2.gif]] | |||
== Path of Crondis (Zebak) == | |||
'''Combat style:''' Ranged<br> | |||
'''Protection prayer:''' Mage/Range | |||
This fight isn't that special - just keep your prayer up, change it accordingly and move out of the poison. | |||
Beware that his attacks hit '''TWICE''' - first upon exploding in the middle and second when the projectile reaches you. | |||
[[File:croc.gif]] | |||
[[File:croc_2.gif]] | |||
== Path of Scabaras (Kephri) == | |||
'''Combat style:''' Melee<br> | |||
'''Protection prayer:''' None needed | |||
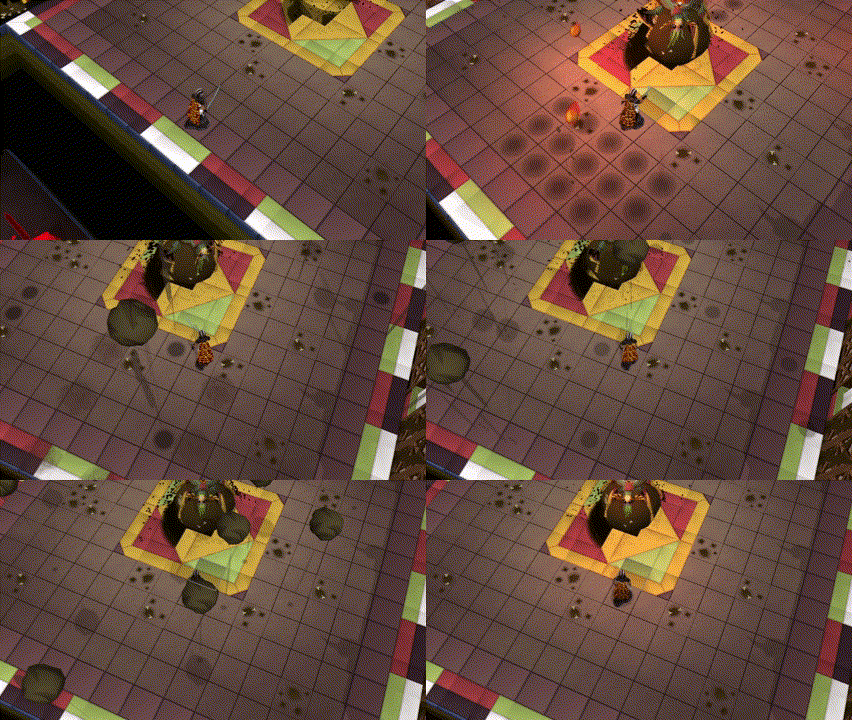
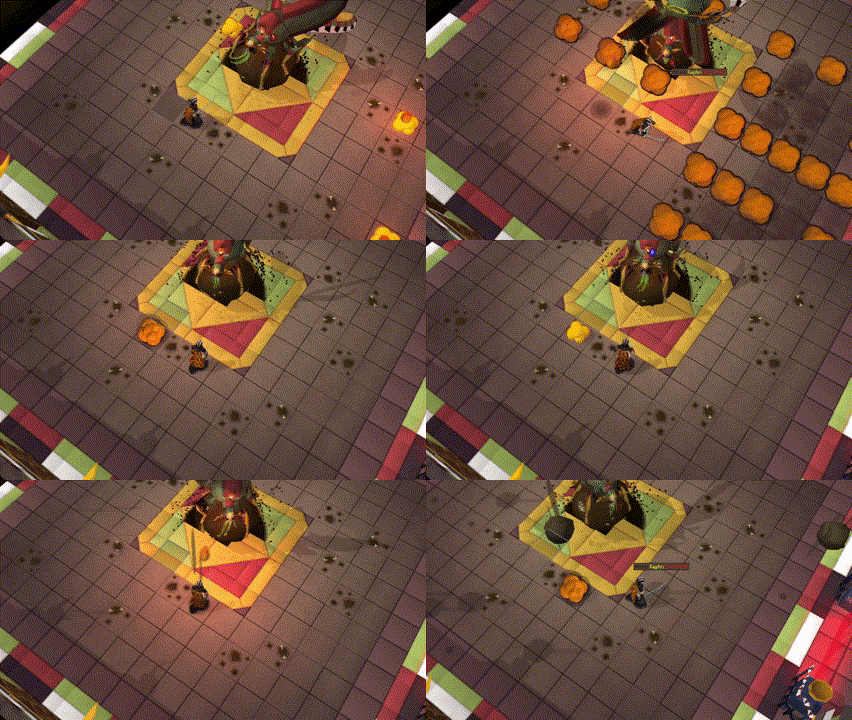
This fight gets more complicated. You need to make sure you keep dodging all of his abilities: | |||
* Single orange ball that you need to sidestep or it deals 35 damage | |||
* Orange ball that leaves an outgoing explosion dealing 35 damage | |||
* Falling boulders that incapacitate you and deal 45 damage | |||
All these attacks show where they are going to land, so you should move out of the way. | |||
[[File:kephri_1.gif]] | |||
[[File:kephri_2.gif]] | |||
Path of | == Path of Apmeken (Ba-Ba) == | ||
'''Combat style:''' Melee<br> | |||
Protection | '''Protection prayer:''' Melee/Range | ||
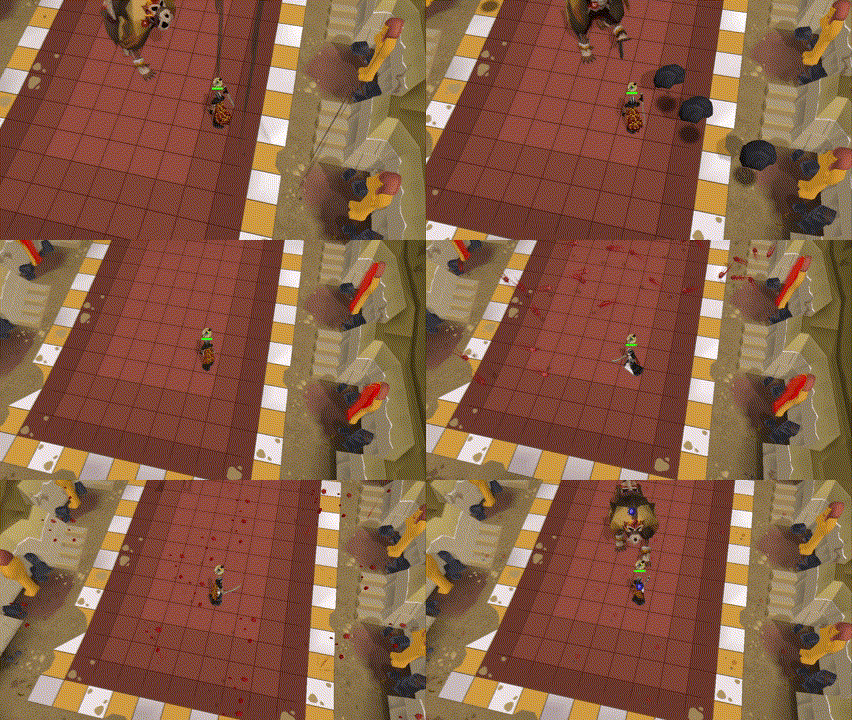
Ba-Ba has several attacks which each need to be handled differently: | |||
* '''Falling boulders:''' These do about 40 damage but can be avoided by stepping to the side | |||
* '''Thrown boulder:''' For this attack to deal no damage, you need to switch from protect from melee to range | |||
* '''Red projectiles from the sarcophagus:''' These land randomly and you need to track them to see where they land, so you can stand on a tile where they won't hit | |||
[[File:throwing_baba.gif]] | |||
[[File:red_orbs.gif]] | |||
[[File:baba_boulders.gif]] | |||
== Elidinis/Tumeken's Warden == | |||
=== Phase 1 - Obelisk === | |||
'''Combat style:''' Melee<br> | |||
'''Protection prayer:''' None | |||
Can summon flying pyramids - stand in between them to receive no damage. | |||
After destroying the Obelisk, you will need to deal with the warden and attacks from the Obelisk at the same time. | |||
=== Phase 2 - Elidinis Warden === | |||
'''Combat style:''' Ranged<br> | |||
'''Protection prayer:''' Range/Mage | |||
During this phase the warden will use two kinds of attack: | |||
* Send flying swords after you - if you protect from range it will negate the damage | |||
* Send flying skulls - if you protect from mage it will negate the damage | |||
'''Important:''' During all these attacks, the Obelisk will send out either a red orb that can be negated with protect from mage, or several red skulls with lightning that will damage in a 5x5 area. | |||
[[File:warden_1_attacks.gif]] | |||
=== Phase 3 - Tumeken's Warden === | |||
'''Combat style:''' Ranged<br> | |||
'''Protection prayer:''' Range/Mage | |||
During this phase the warden will use two kinds of attack: | |||
* Send flying rocks after you - if you protect from range it will negate the damage | |||
* Send flying skulls - if you protect from mage it will negate the damage | |||
The Obelisk will still do the same attacks in the meanwhile. | |||
After you kill the 2nd warden, you can proceed and claim your loot. | |||
[[File:warden_2_attacks.gif]] | |||
Latest revision as of 18:09, 6 March 2025
Tombs of Amascut (TOA)
Introduction
TOA is a high level raid, doable in groups but not recommended for solo unless you have near to max gear.
You can get there by using ::toa or opening the spellbook → Minigames → Tombs of Amascut.
Before you enter you need to make a party or join one, just like the other raids.
You will need melee as well as ranged to complete this raid. It's advised to have at least void/crystal armor and a solid melee weapon like rapier/tentacle whip.
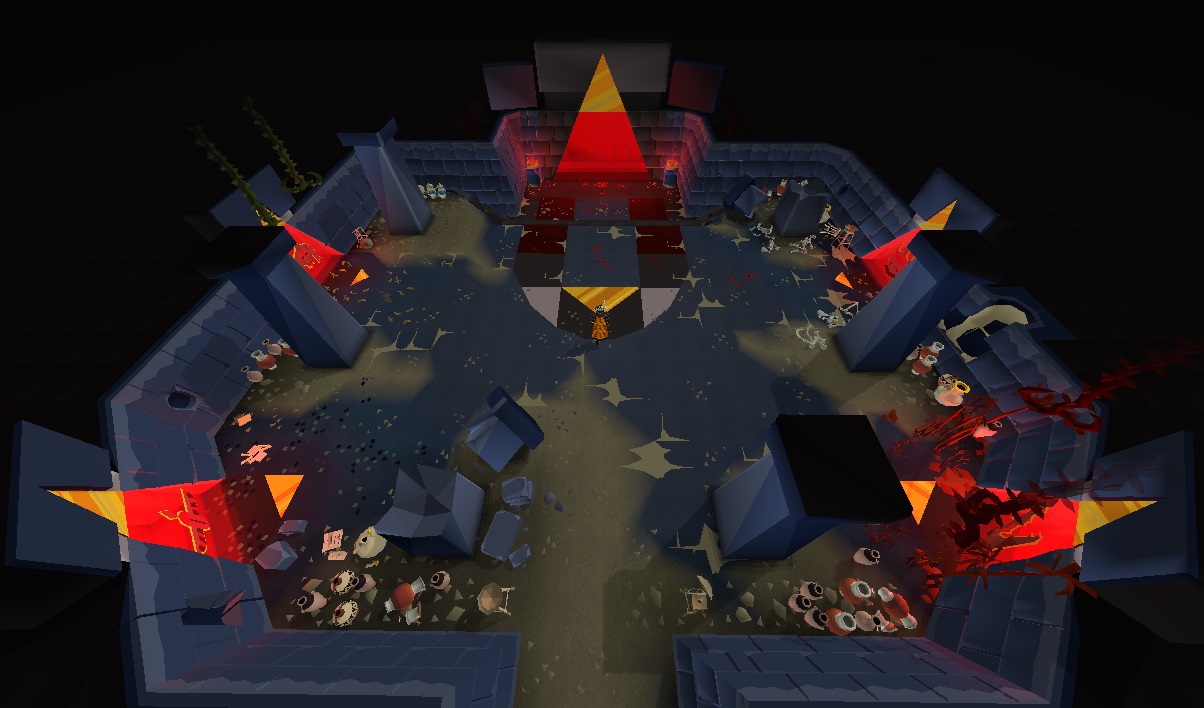
Once you enter you will see 5 entrances and 4 you are able to enter right away, being:
- Path of Het
- Path of Crondis
- Path of Scabaras
- Path of Apmeken
Once you've completed these, you can enter the last one and face the wardens.
Important: After each fight a ghost will appear. To proceed, make sure to right-click it and click "proceed".
Path of Het (Akkha)
Combat style: Melee
Protection Prayer: Melee
This fight isn't that special - just keep your prayer up and prepare for his special attack.
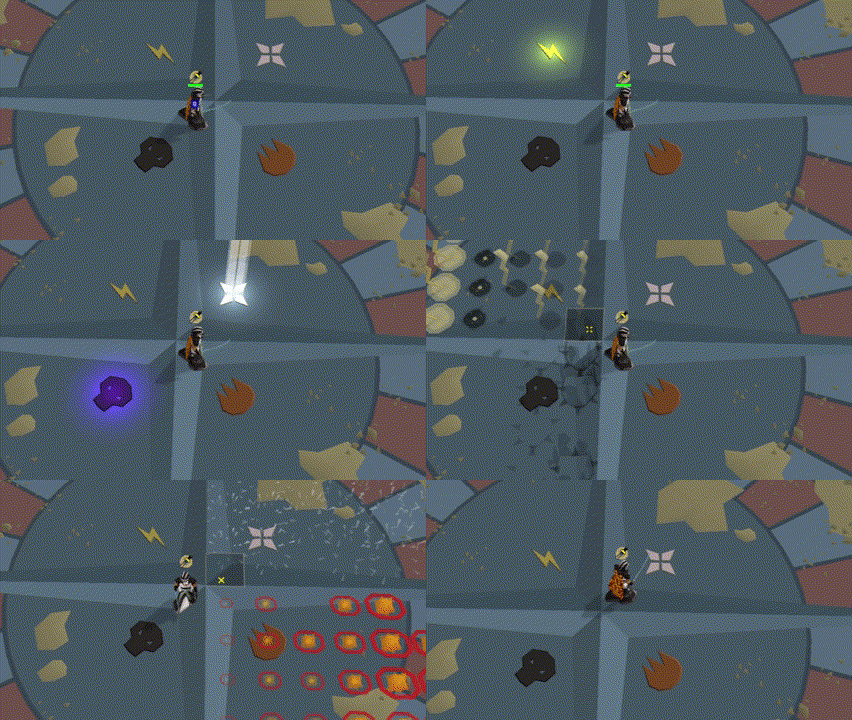
When he slams his spear into the ground, four symbols will light up after each other, showing you where to stand and in which order (see the GIF below).
Path of Crondis (Zebak)
Combat style: Ranged
Protection prayer: Mage/Range
This fight isn't that special - just keep your prayer up, change it accordingly and move out of the poison.
Beware that his attacks hit TWICE - first upon exploding in the middle and second when the projectile reaches you.
Path of Scabaras (Kephri)
Combat style: Melee
Protection prayer: None needed
This fight gets more complicated. You need to make sure you keep dodging all of his abilities:
- Single orange ball that you need to sidestep or it deals 35 damage
- Orange ball that leaves an outgoing explosion dealing 35 damage
- Falling boulders that incapacitate you and deal 45 damage
All these attacks show where they are going to land, so you should move out of the way.
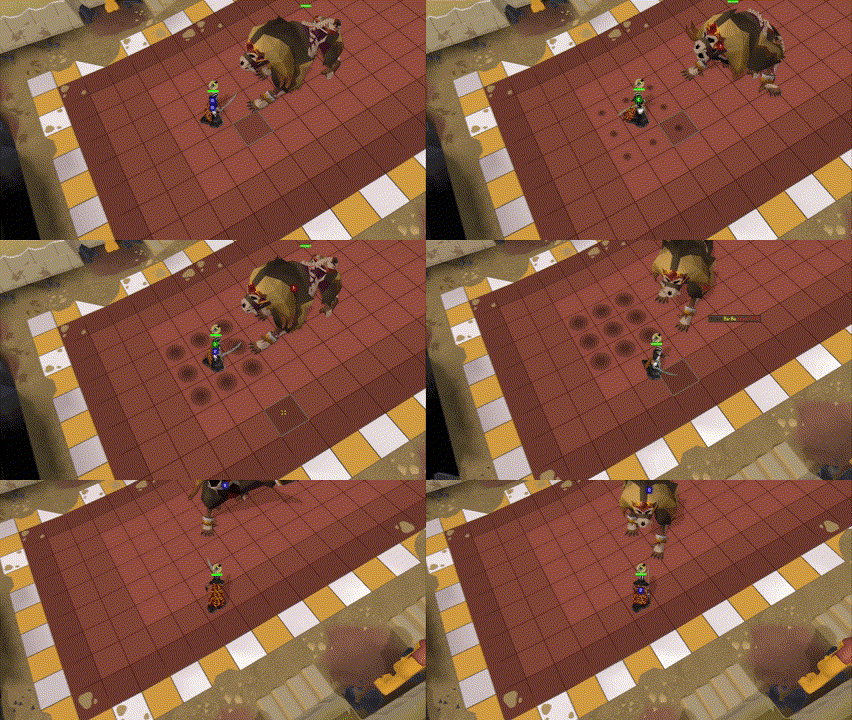
Path of Apmeken (Ba-Ba)
Combat style: Melee
Protection prayer: Melee/Range
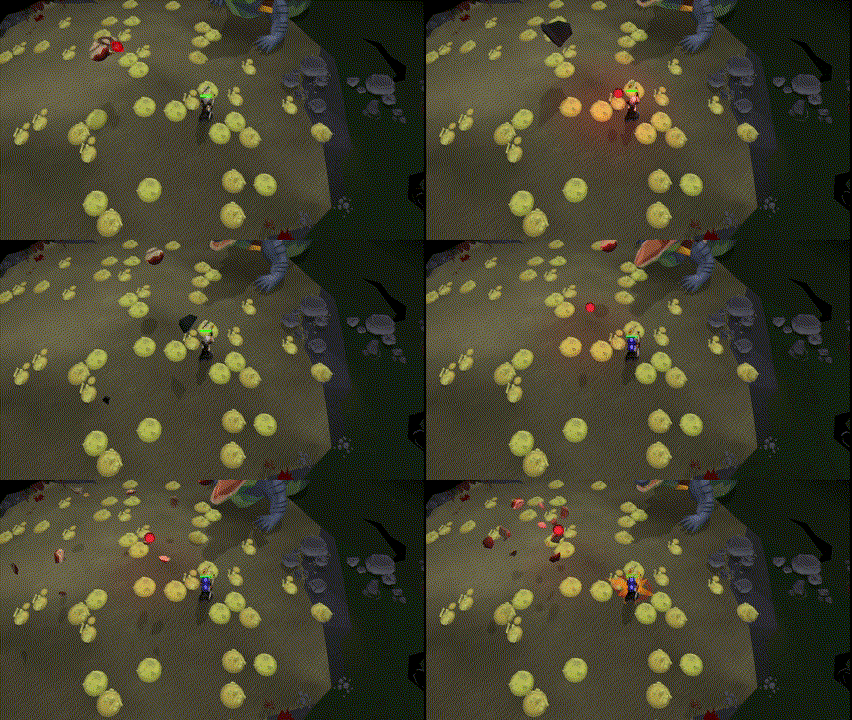
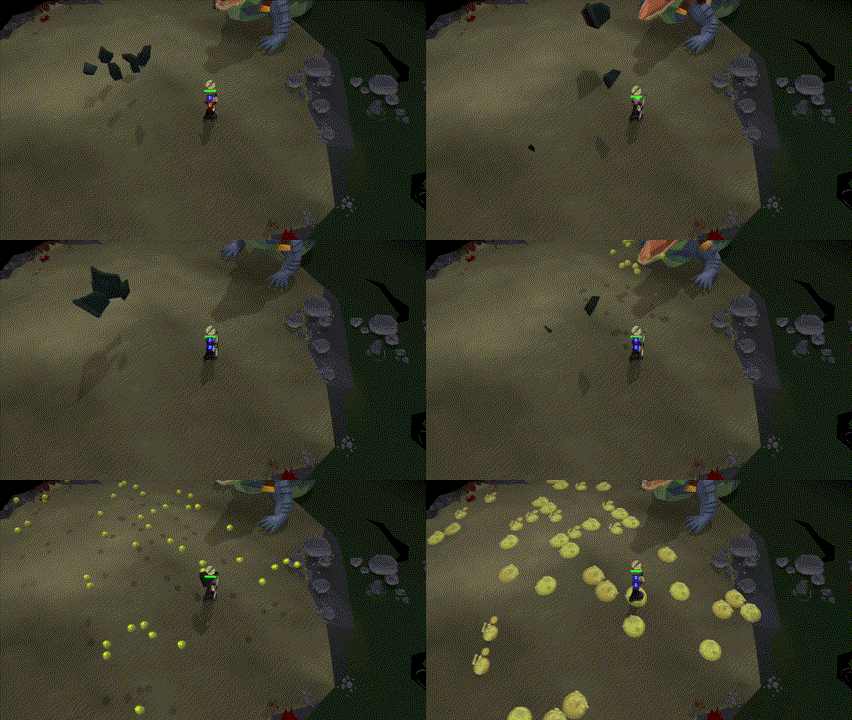
Ba-Ba has several attacks which each need to be handled differently:
- Falling boulders: These do about 40 damage but can be avoided by stepping to the side
- Thrown boulder: For this attack to deal no damage, you need to switch from protect from melee to range
- Red projectiles from the sarcophagus: These land randomly and you need to track them to see where they land, so you can stand on a tile where they won't hit
Elidinis/Tumeken's Warden
Phase 1 - Obelisk
Combat style: Melee
Protection prayer: None
Can summon flying pyramids - stand in between them to receive no damage.
After destroying the Obelisk, you will need to deal with the warden and attacks from the Obelisk at the same time.
Phase 2 - Elidinis Warden
Combat style: Ranged
Protection prayer: Range/Mage
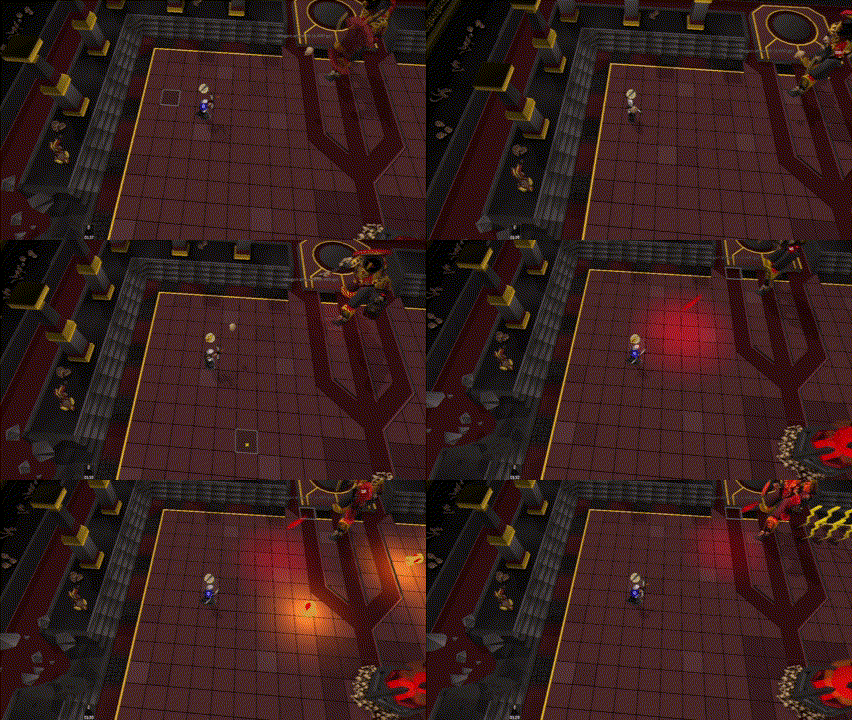
During this phase the warden will use two kinds of attack:
- Send flying swords after you - if you protect from range it will negate the damage
- Send flying skulls - if you protect from mage it will negate the damage
Important: During all these attacks, the Obelisk will send out either a red orb that can be negated with protect from mage, or several red skulls with lightning that will damage in a 5x5 area.
Phase 3 - Tumeken's Warden
Combat style: Ranged
Protection prayer: Range/Mage
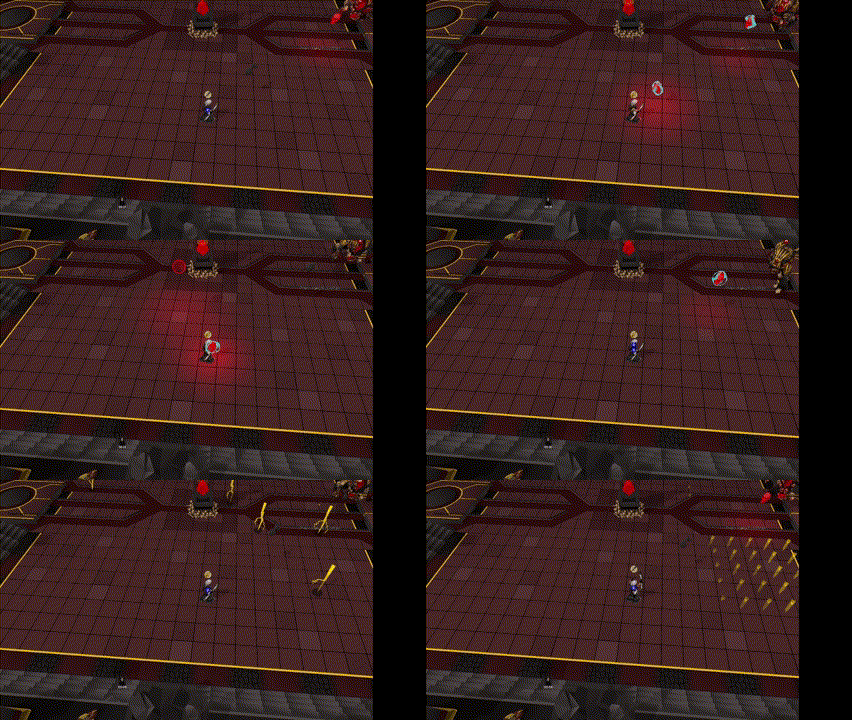
During this phase the warden will use two kinds of attack:
- Send flying rocks after you - if you protect from range it will negate the damage
- Send flying skulls - if you protect from mage it will negate the damage
The Obelisk will still do the same attacks in the meanwhile.
After you kill the 2nd warden, you can proceed and claim your loot.
